
ITP and Test Procedures
The Inspection Test Procedure Document menu in the app has the functionality to add and manage the Inspection Test Plan (ITP), NDT requirements, and NDT procedures.
1 Inspection Test Plan
An Inspection and Test Plan (ITP) or test plan is a document detailing a systematic approach to testing a system or product to perform visual inspection, dimension inspection, welding inspection, function test, and factory acceptance test.
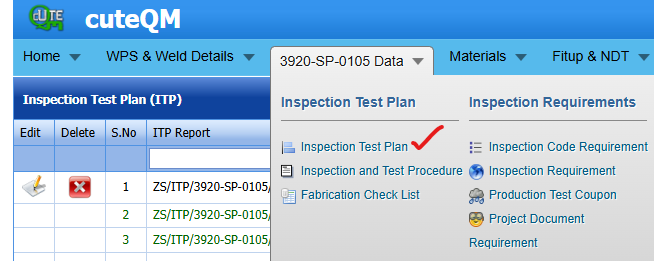
The Inspection Test Plan tab in the Inspection Document menu helps you to prepare the inspection test plan. If you want to add the inspection test plan, do the following steps,
1. Click the Inspection Test Plan tab in the Project Data
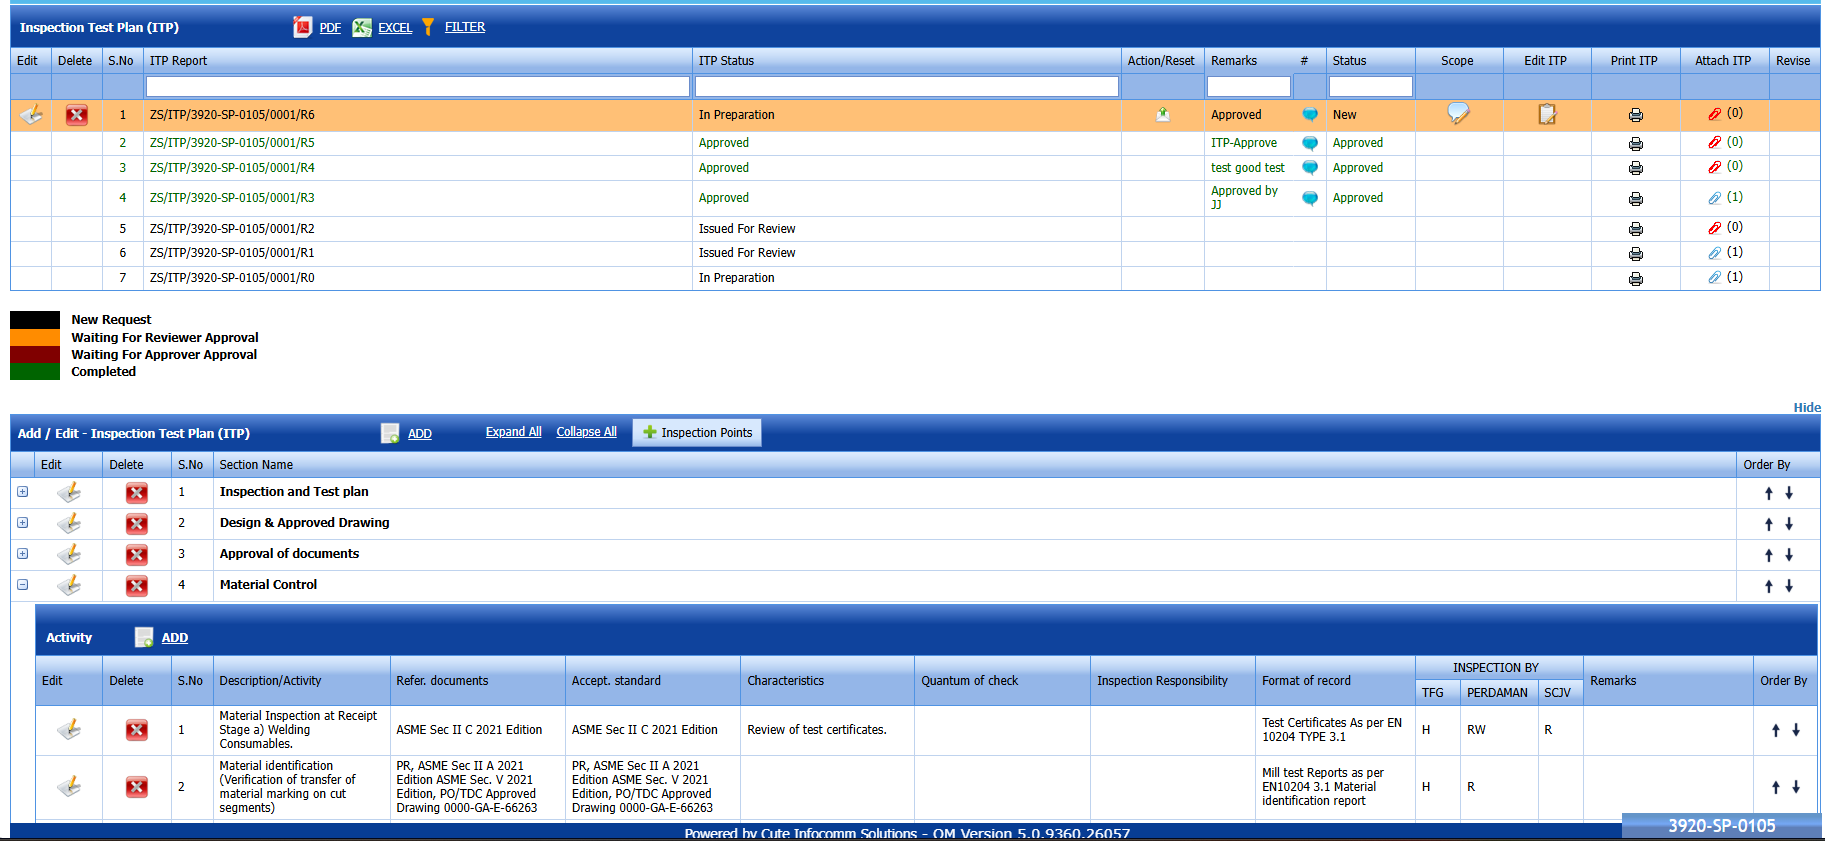
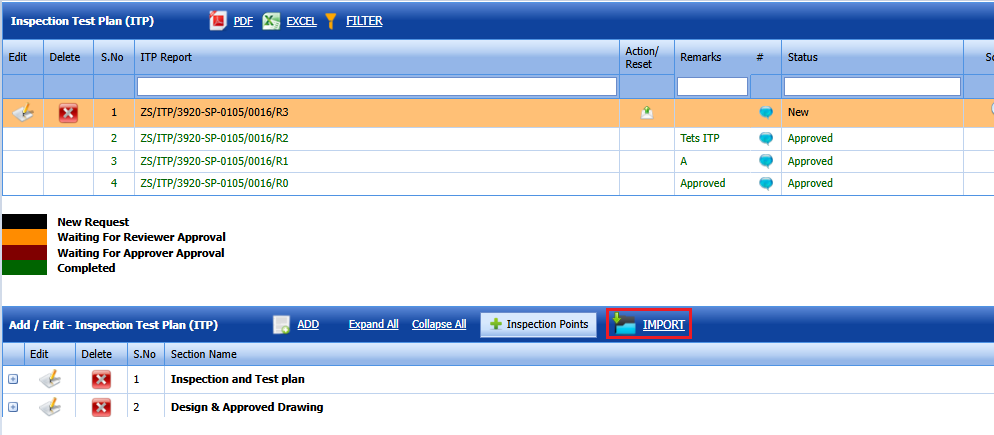
The Inspection Test Plan (ITP) page opens. If there are no ITP already created, system will automatically expands and show the below

Figure 1.1: Inspection Test Plan (ITP) page
 Note: The fields notified with a symbol (*) are mandatory. You must enter the relevant details in that fields before saving.
2. In the Template box, select a template from a drop-down list appears on the Select from Templates box or the Select from Equipments box. If templates are predefined earlier, use it. If you want to copy the ITP from another equipment choose the equipment.
 Tip: A report number for the ITP report will be updated automatically in the ITP Report Number box.
3. In the ITP Status box, select the ITP status from a drop-down list.
4. In the Date box, choose the date of status update.
5. In the Non-Destructive Examination (NDE) box, enter the NDE details.
6. In the Remarks box, enter your remark if any.
7. In the Prepared By box, enter the name of a person who has prepared the ITP.
8. In the Reviewed By box, enter the name of a person who has reviewed the ITP.
9. In the Approved By box, enter the name of a person who has approved the ITP.
10. In the Prepared Date box, choose the prepared date of the ITP.
11. In the Reviewed Date box, choose the reviewed date of the ITP.
12. In the Approved Date box, choose the approved date of the ITP report.
13. Click Save.
The ITP is successfully added.
Edit ITP 

Click on the  edit ITP icon and the section below opens up.
Click to Add section as required.
Each section can be added with activities.
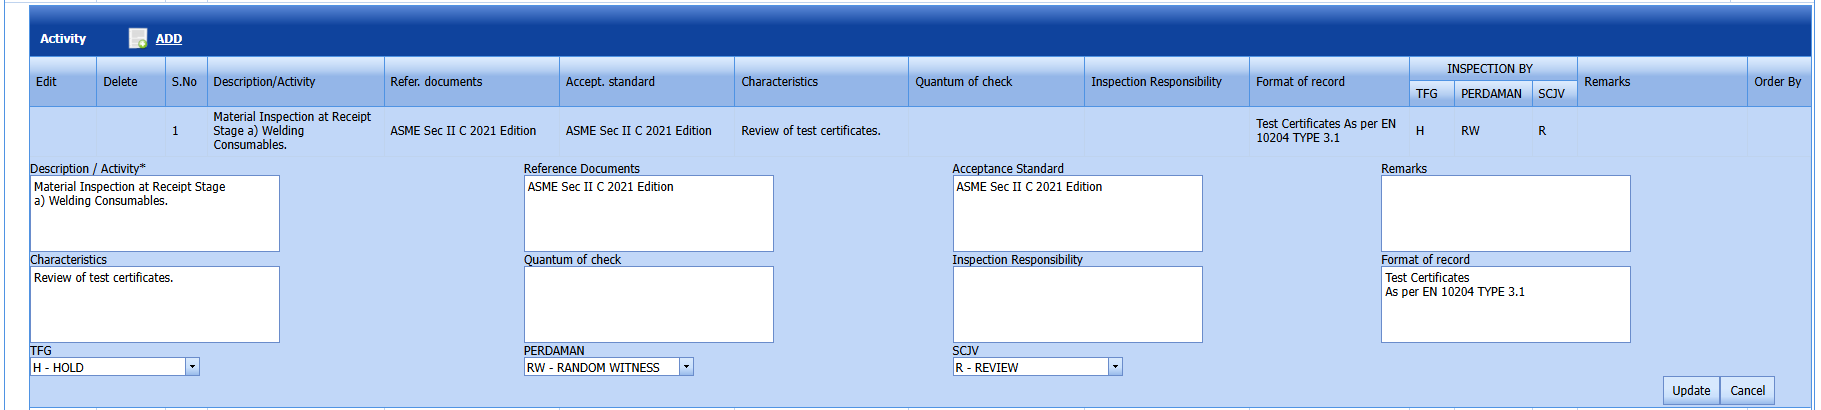
Each activity can be edited and responsibilities of each party can be defined.
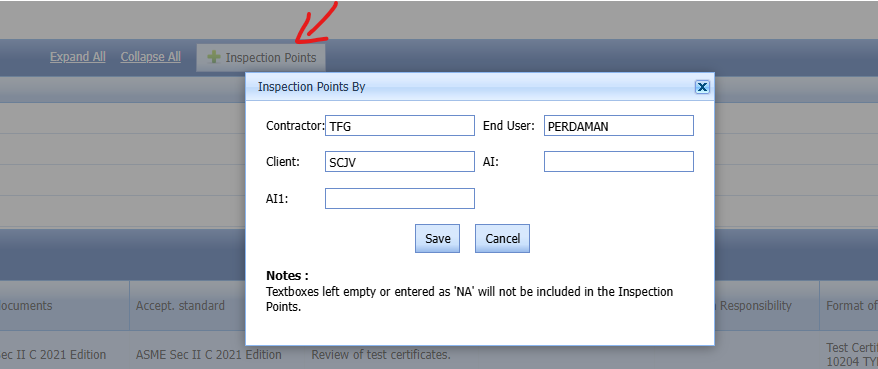
Enter the party Name here for making it available in each activity.
Once all sections, activities are ready, Click the Print icon to print the ITP.
If workflow is enabled, it can sent for approval.

Export ITP list
You can export a list of ITPs added in the Inspection Test Plan (ITP) page in the pdf and excel formats by using  (PDF button) and
  (Excel button).
IMPORT ITP
1.Click import button in ITP screen as shown below
3.Click template button to download the excel template.

4.Fill the excel template with appropriate parameters.
5.Click browse button and browse the filled excel file from the local
6.Click upload button to upload the filled template
7.Click auto map button to map system and excel columns
8.Click populate values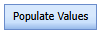 button
9.Click process button to populate the column values
10.Click import button to import the template into the ITP.
ITP records imported successfully.
2 Inspection and Test Procedures
The Inspection and Test procedures tab in the Project Data menu helps you to add an NDT and other test procedures and prepare the cover page. If you want to add a procedure, do the following steps,
1. Click Inspection and Test Procedures in the Project Data menu.
The Procedures page opens.

Figure 1.2: Test Procedure page
Add a Test Procedure
If you want to add a Test procedure,
1. Click  (ADD button) in the Test Procedure See Fig 1.2.
A new box opens to add an NDT procedure.

2. In the NDT Procedure box, select the NDT procedure from a drop-down list.
3. In the NDT Procedure Title box, enter the NDT procedure title.
4. Click Save.
The NDT procedure is successfully added.
Add Test Procedure Revision
Once you have added the NDT procedure, you must add the NDT procedure revision. You can manage multiple revisions for one NDT procedure based on client feedback.
1. Click  (Edit icon) in the Revision column of the Test Procedure See Fig 1.2.
The Test Procedure Revision window opens.

2. Click (ADD button) in the Test Procedure Revision
A new box opens to add the NDT revision procedure.

Note: The fields notified with a symbol (*) are mandatory. You must enter the relevant details in that fields before saving.
 Tip: A report number for the revision will be updated automatically in the Report Number/ Revision box.
3. In the Description box, enter the description for the NDT procedure revision.
4. In the Prepared By box, enter the name a person who has prepared the revision.
5. In the Prepared Date box, enter the prepared date of the revision.
6. In the Reviewed By box, enter the name a person who has reviewed the revision.
7. In the Reviewed Date box, enter the reviewed date of the revision.
8. In the Approved By box, enter the name a person who has approved the revision.
9. In the Approved Date box, enter the approved date of the revision.
10. Click Save.
Print an Test procedure Cover Page report
If you want to print an NDT procedure report, click  (print icon) provided in the Print column of the Test Procedure page. See Fig 9.3
Attach a File into an Test Procedure
If you want to attach a file with any Test procedure in the Test Procedure page, you can use  (Attach icon) provided in the Attachment column for the respective Test procedure.
The signed copy of the cover page and the actual procure to be uploaded here. Later they will be used while compiling the final dozier.
3 Inspection Code Requirements
Select Inspection Code Requirements menu select the codes so that later this will be automatically selected in NDT requests etc. 
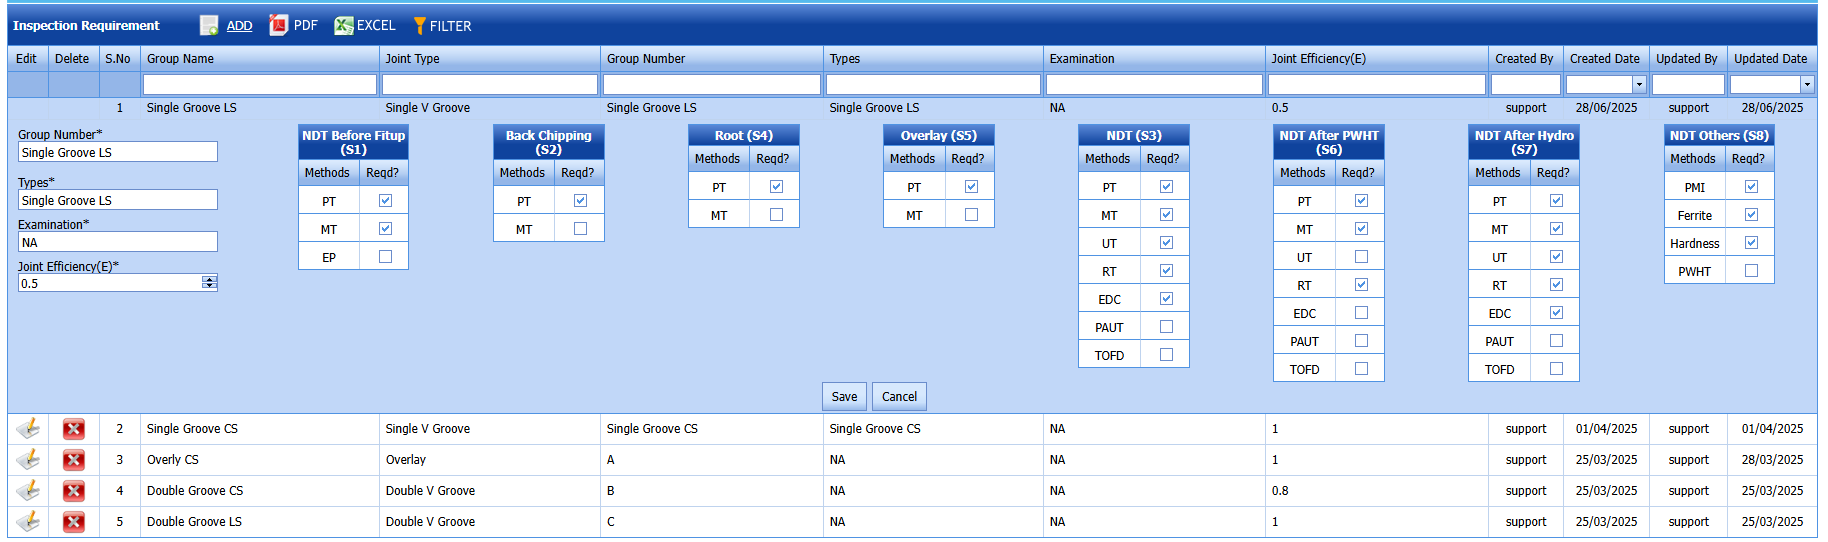
4 Inspection Requirements
The Inspection Requirements menu used to add the NDT inspection type to be performed against various groups of joints. NDT can be performed Before Fit up, Back Chipping, Before PWHT, After PWHT, and After Hydrostatic test etc.
Once you have added the required NDT inspection type, the added NDT inspection will be displayed in the NDT Requirement section while adding the welding joints. To know in detail about adding joints, see the topic, “Joints”.
To add the Inspection requirements,
1. Click Inspection Requirements in the Inspection Document
The Inspection Inspection Requirement page opens.
2. Click Add
2. Select the checkbox of the group given in the page based on your requirement.
Once you have selected , the NDT inspection type will be added.
See the section below to add new group if you don't see anything in the list initially.
3. Click edit and Select the checkbox of the respective NDT type which you want to add additionally if there is a change.
4. Click Save.
Master NDT requirements
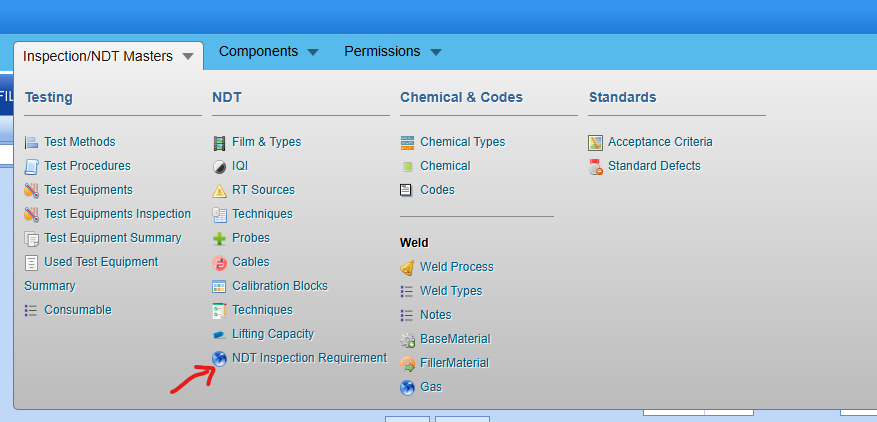
The master list of NDT requirements are defined by company QA Manager and it is derived here for each project and gets modified. To manage the master list of NDT requirements, navigate to "NDT Inspection Requirements" page in Inspection/NDT Masters
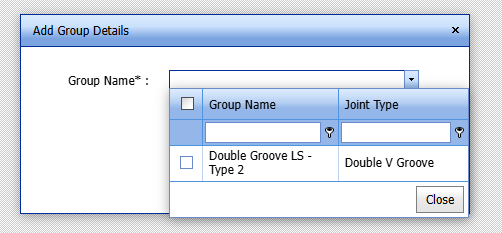
The below window opens up and click Add to create a new requirements group.
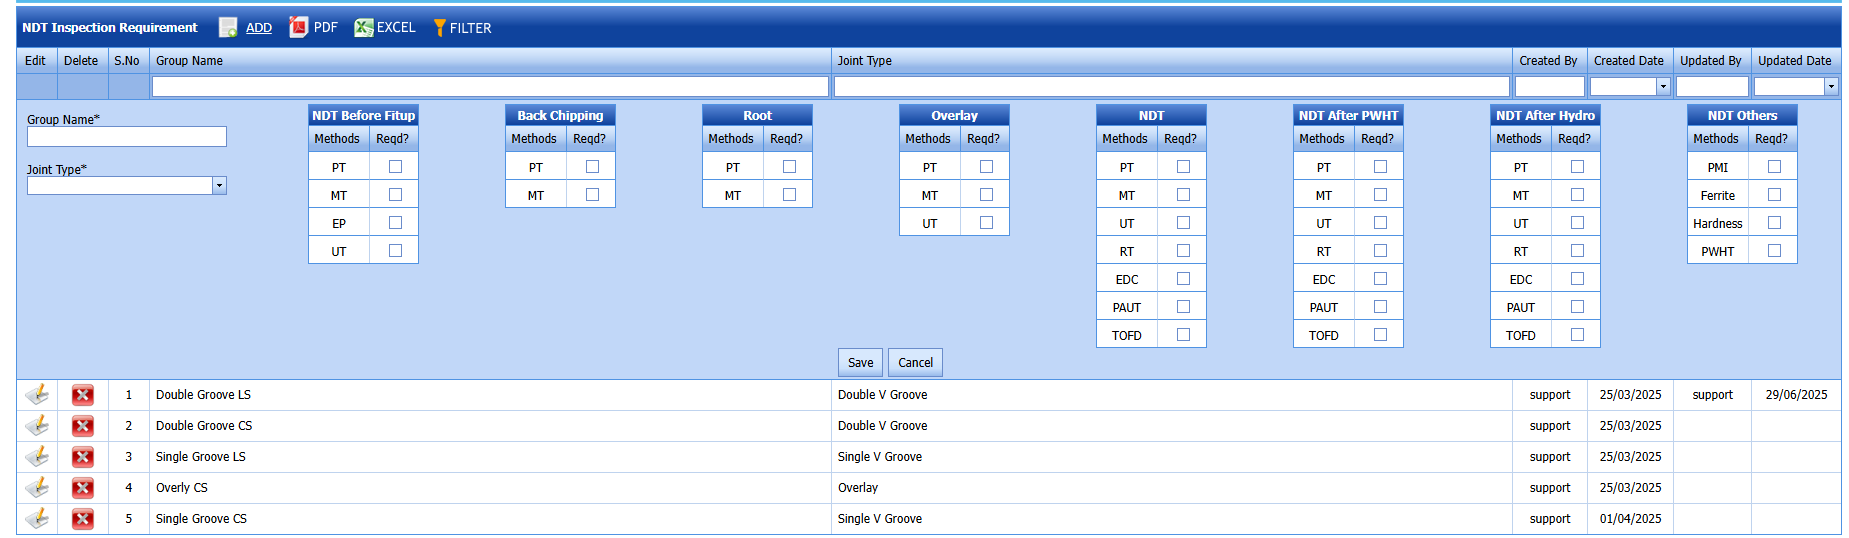
Enter New Group Name and Select the Joint Type for which it is applicable.
Select the general NDT requirements and Clock Save.
This will be available later in the equipment to use and change as required.
No Comments