
Planning
Plan module enables user to do resource planning by single day or by date range, project, skill, service etc. Click Plan submenu in the HRM module landing page to enter into the Planning module.
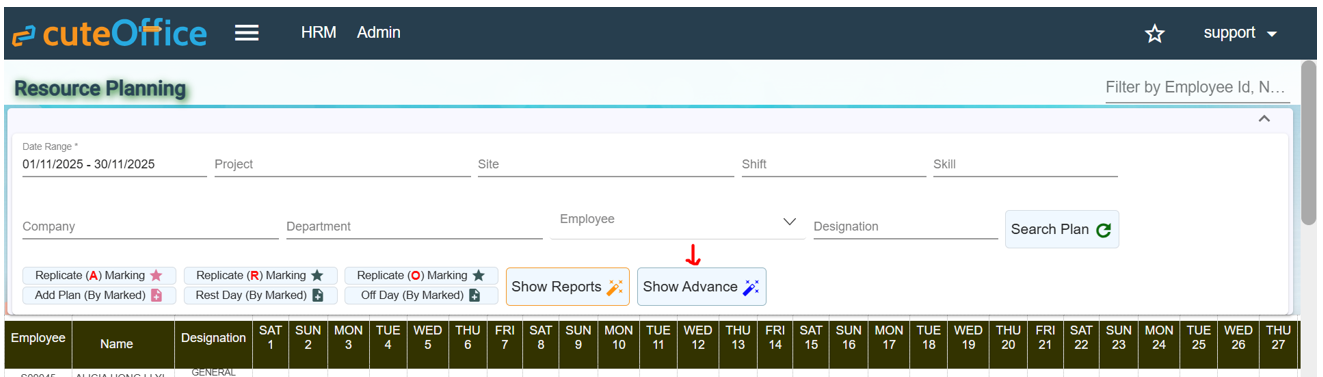
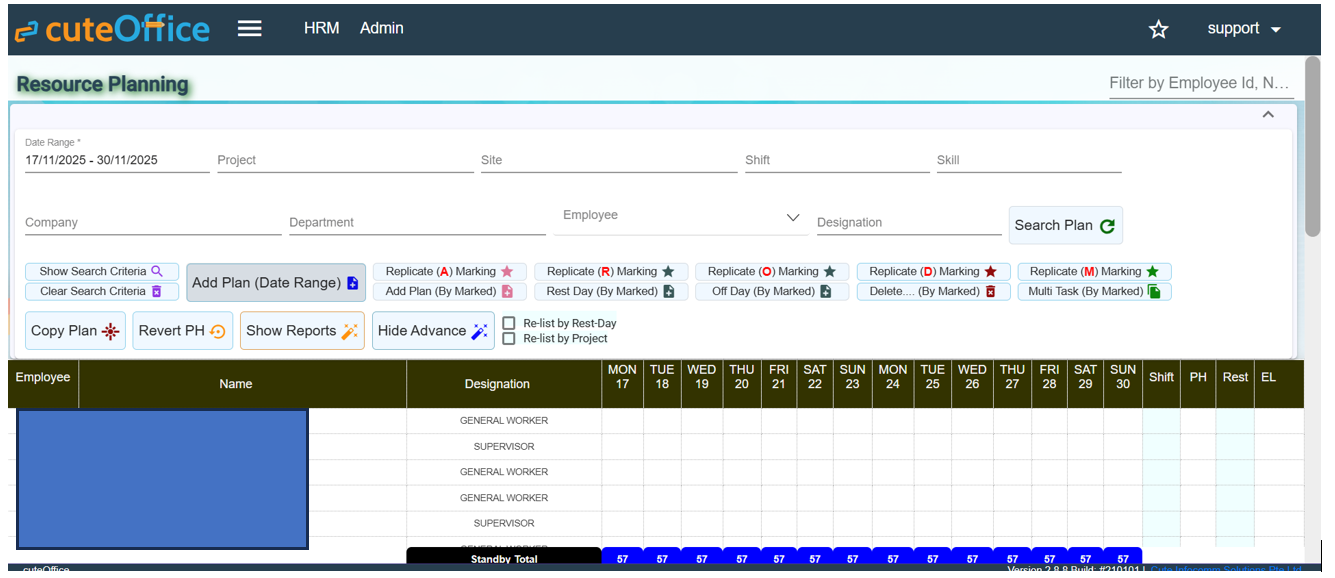
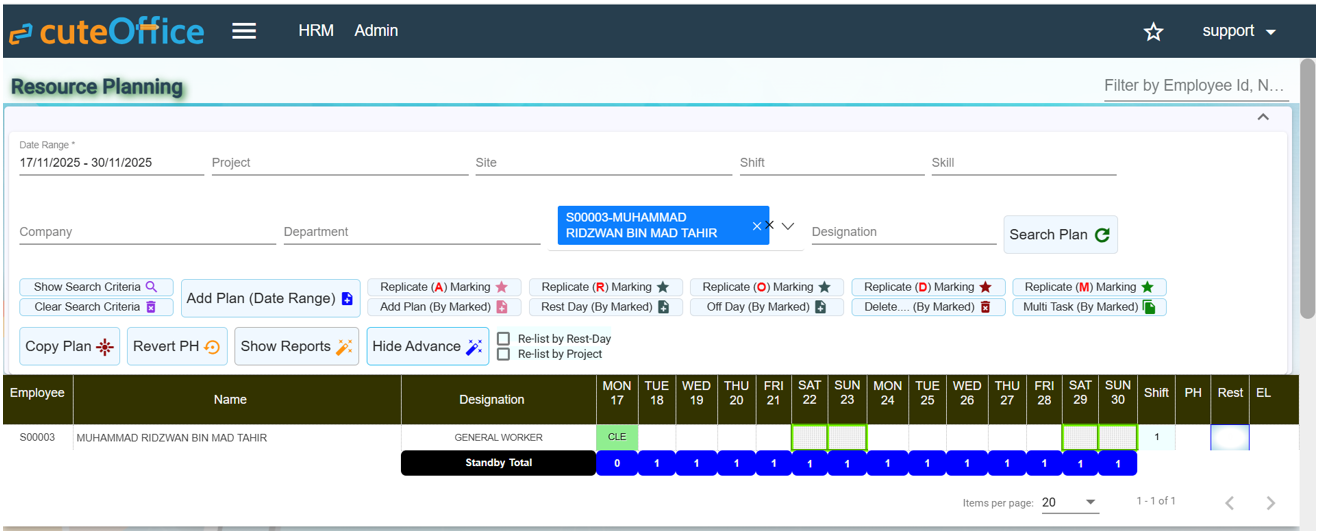
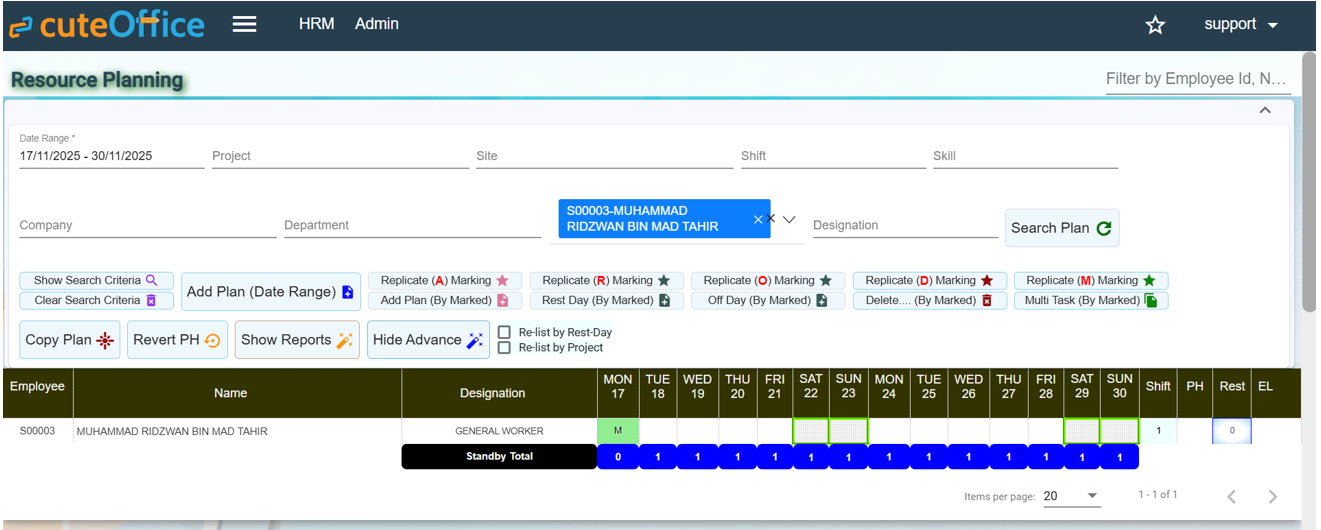
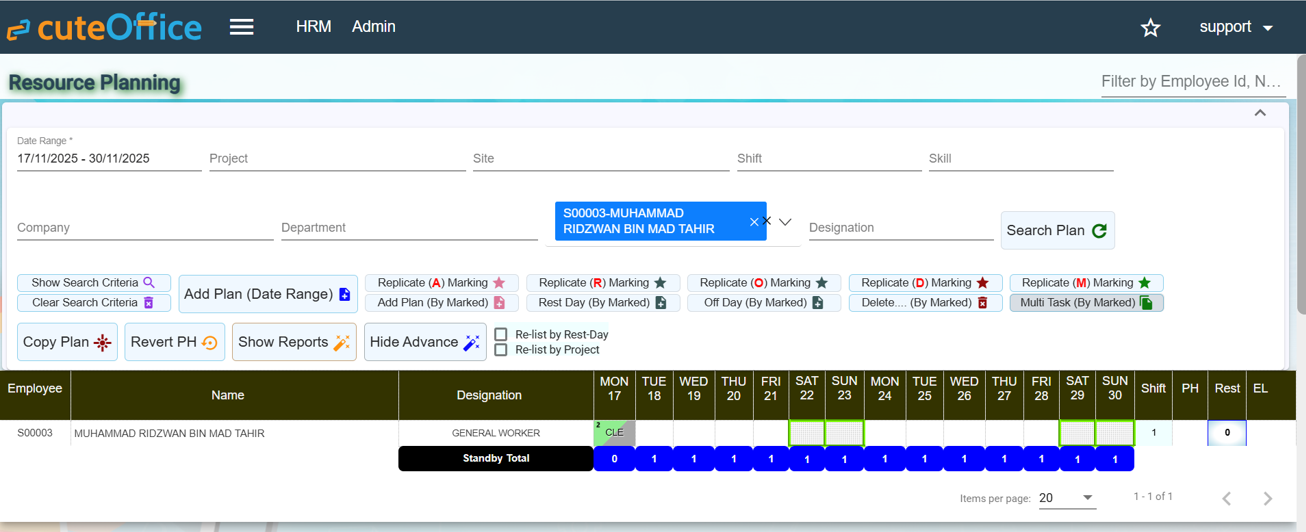
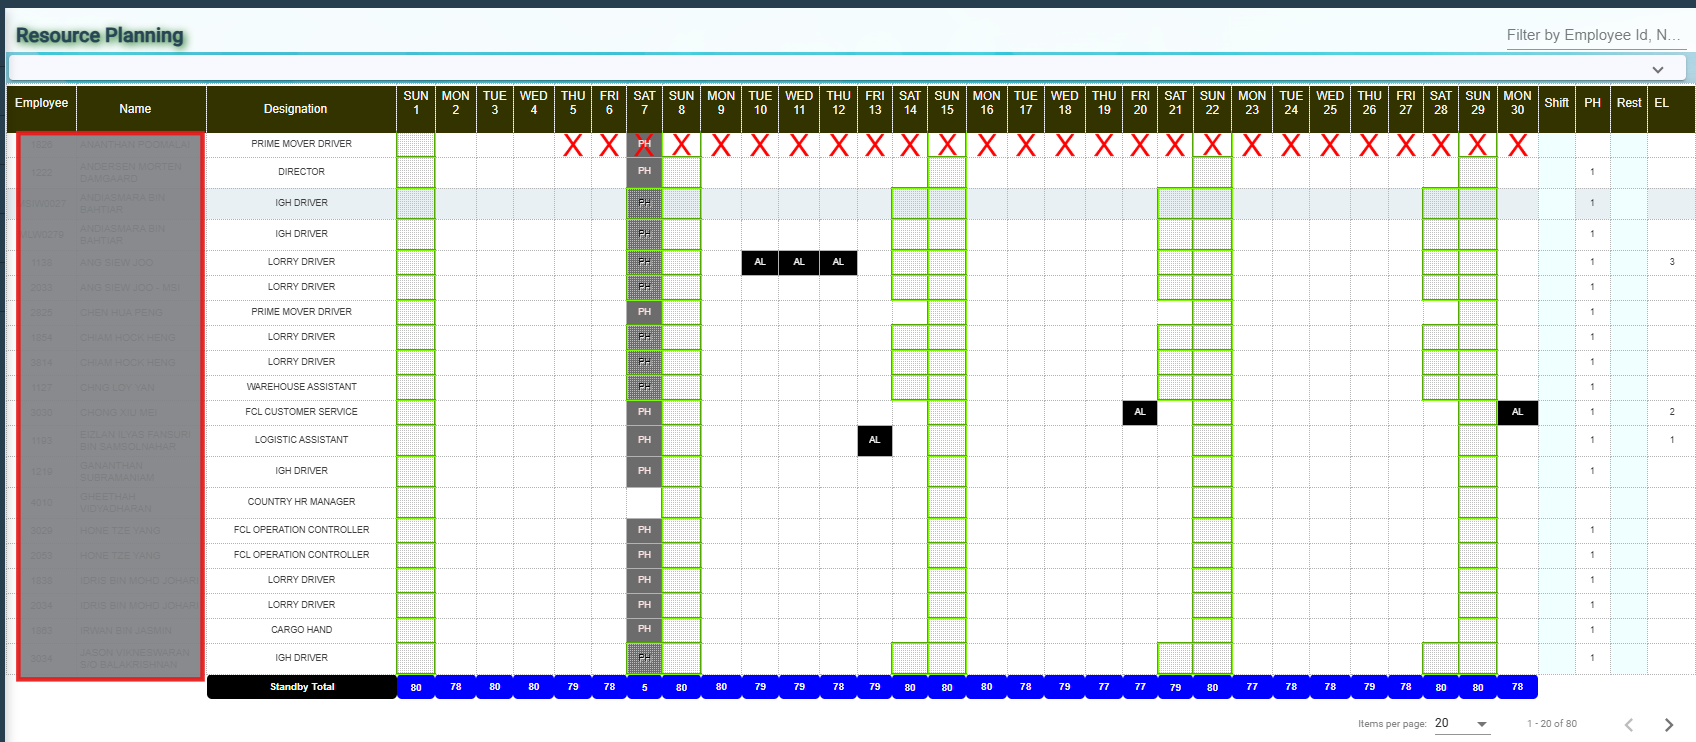
Once click on Resource Plan, you will see the below page called "Resource Planning".
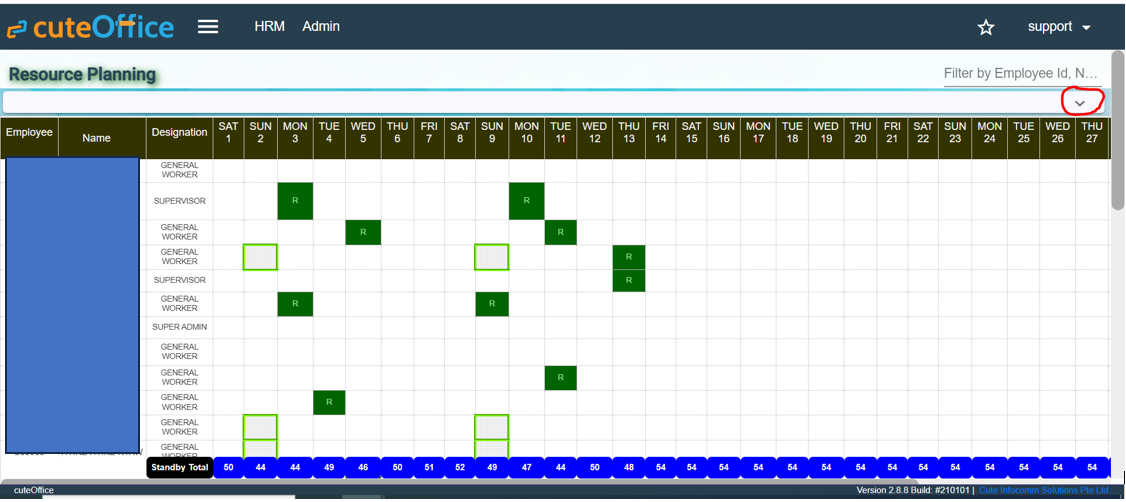
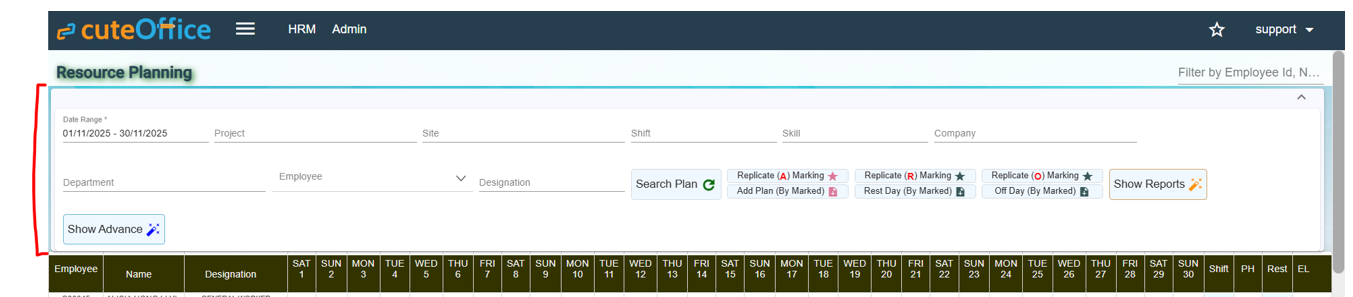
Click on this (marked in red) and you will see the options available in the resource planning.
General Planning by dates
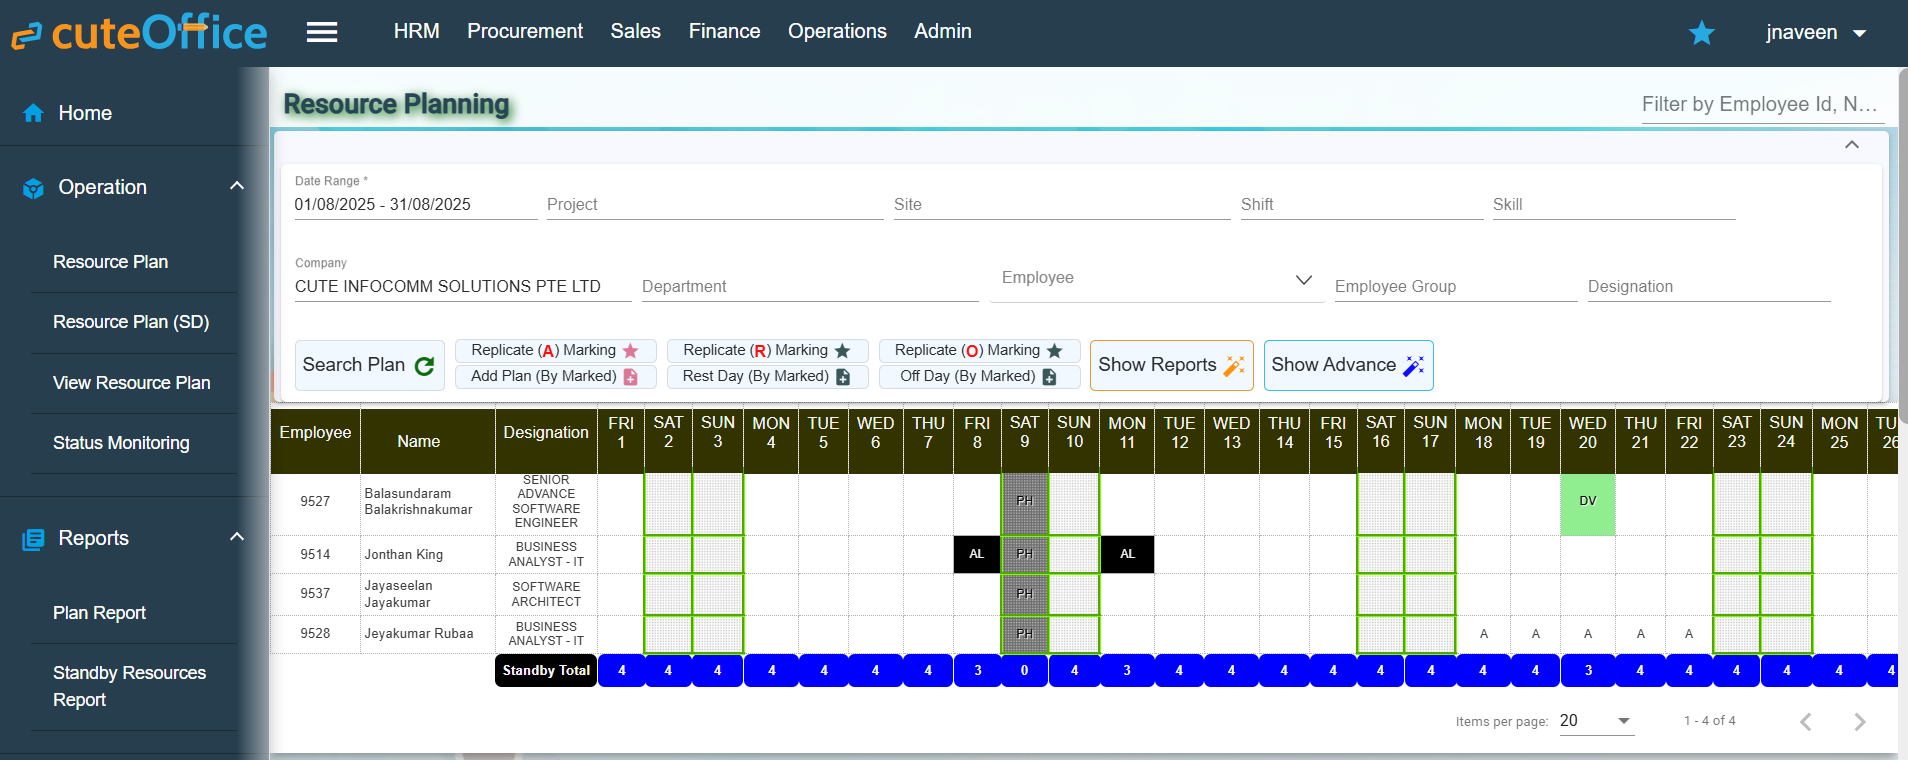
To add new resource planning,
- Select the date range to plan and click Search plan.

- The list of employees are shown along with the date range. User can click on the cell for the date/employee and mark as A (see mark A in above screenshot) and it can be done for multiple employees on multiple dates who are to be planned for a project.
- Click
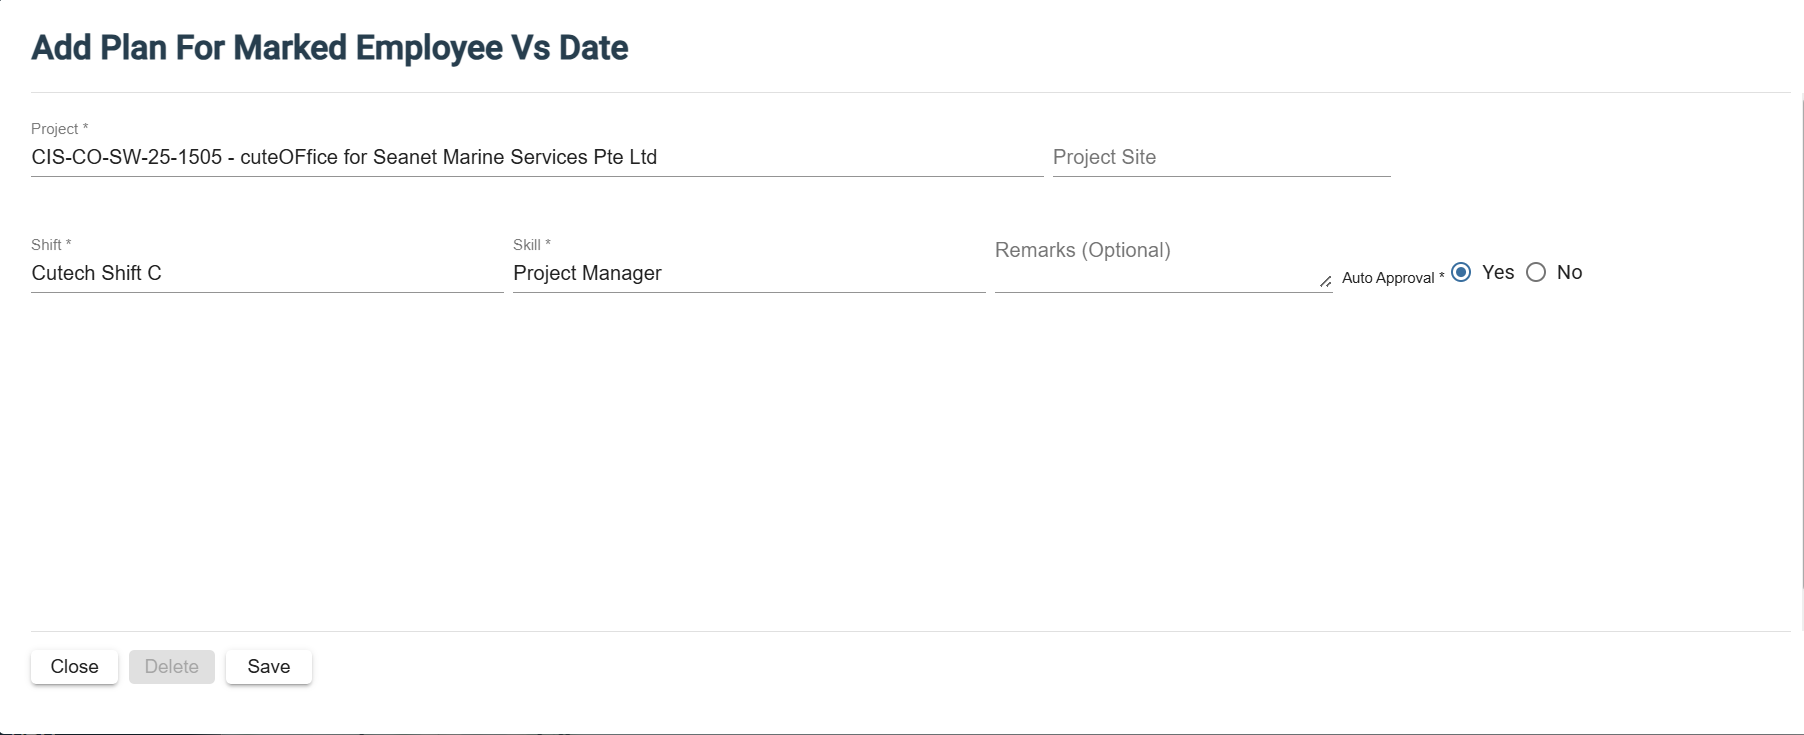
 Add Plan (By Marked) option in the top tool bar, to add plan for marked employee vs date window opens as below,

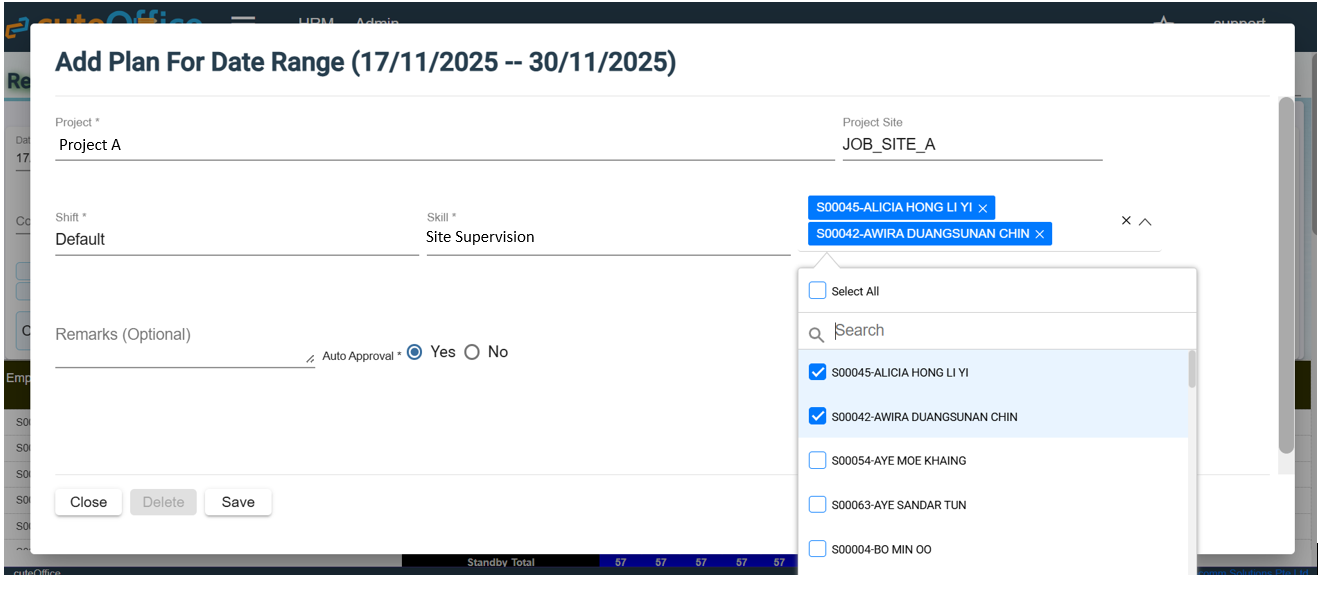
- In Project field, select project planed for the selected dates/employees.
- In Project Site field, enter or select project site. (if applicable)
- In Shift field, select shift name.
- In Skill field, select the skill in the which the person will be working as. (Some nature of job requires a person to work as worker or supervisor or engineer etc on different dates / projects)
- In Remarks field, enter remarks for the planning if any.
- In Auto Approval field, select Yes which is default
- Click Save to save planning data. After click Save, a message will pop up “Data Saved”, click close to leave the data range planning window. Once the planning data is saved, the data will be appeared in the resource planning screen, color code applied to differentiate projects, mouse over the planned cell, the details of the planning will show as below.


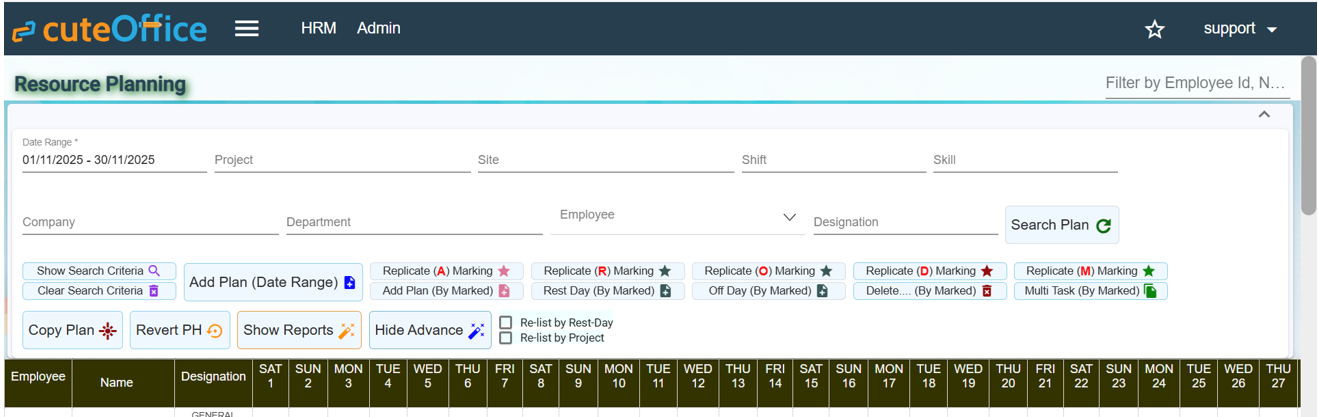
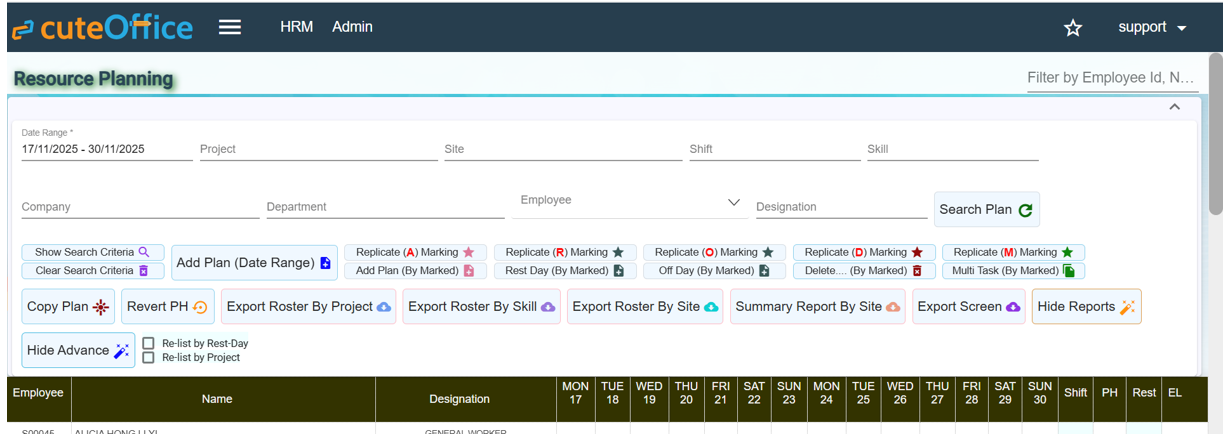
Click on the Show Advance button to display more options on resource planning (see below screen).
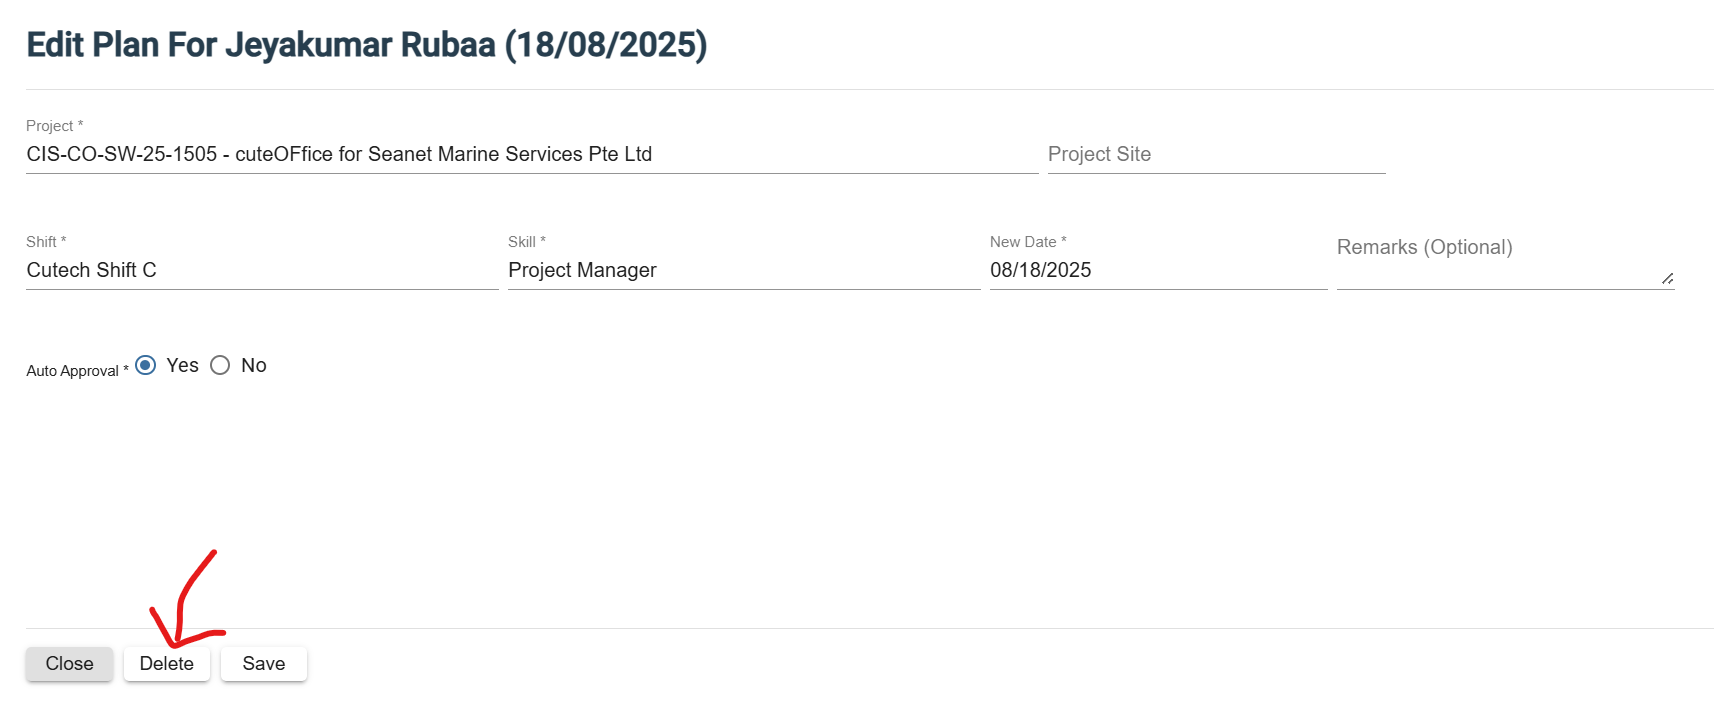
To delete the planned data,
Option 1
- Double click on the cell and click Delete button in the popup.

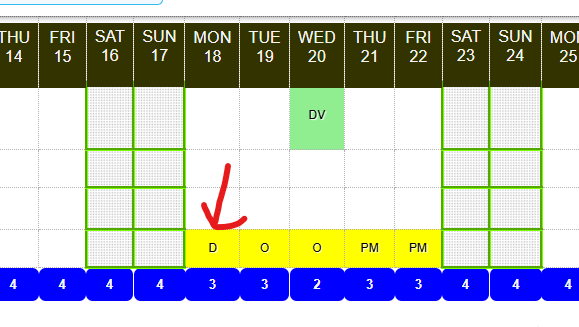
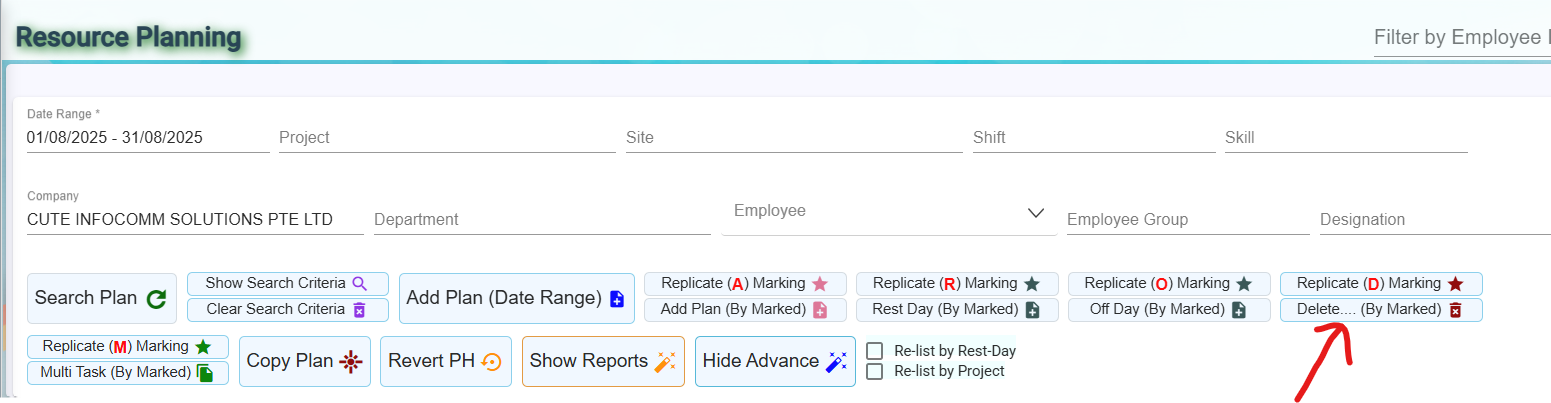
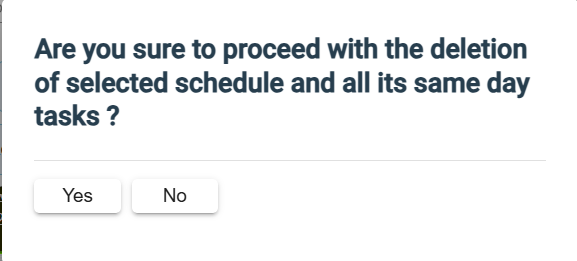
- Option 2: Click on the planned date to make the cell to show D symbol for planned dates and click on Show Advanced and then Delete ( by Marked ) button. This will prompt a confirmation to delete and will delete multiple records in bulk.
Add Plan (Date Range)
Click on this button to add the project, shift etc for employee(s) as per below screen.
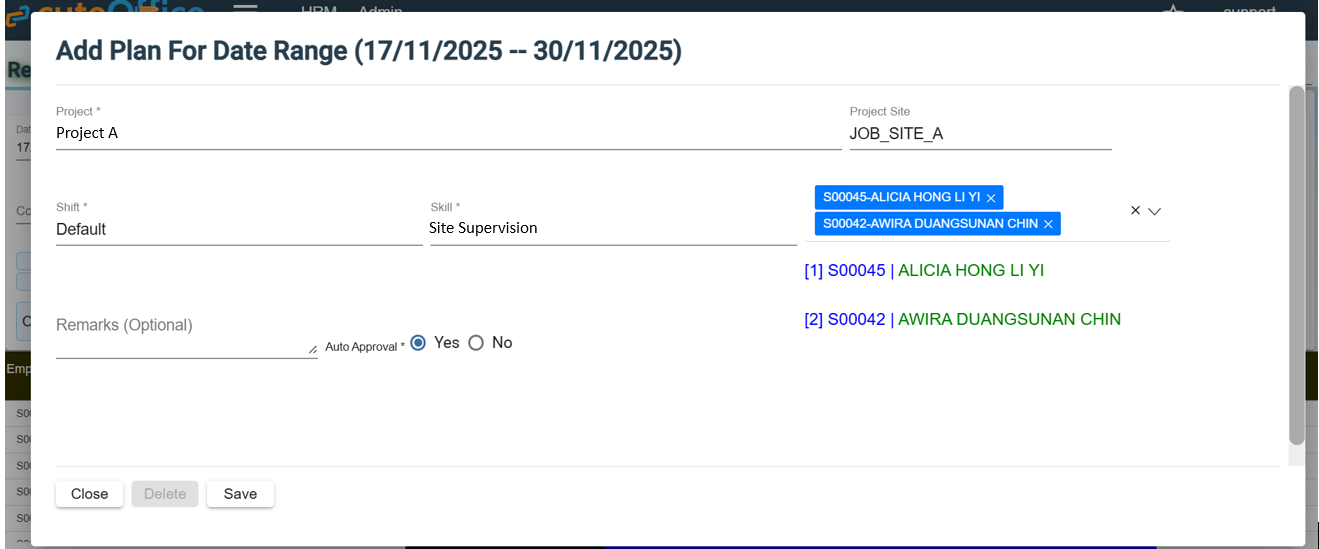
System will show the selected employees. Click Save.
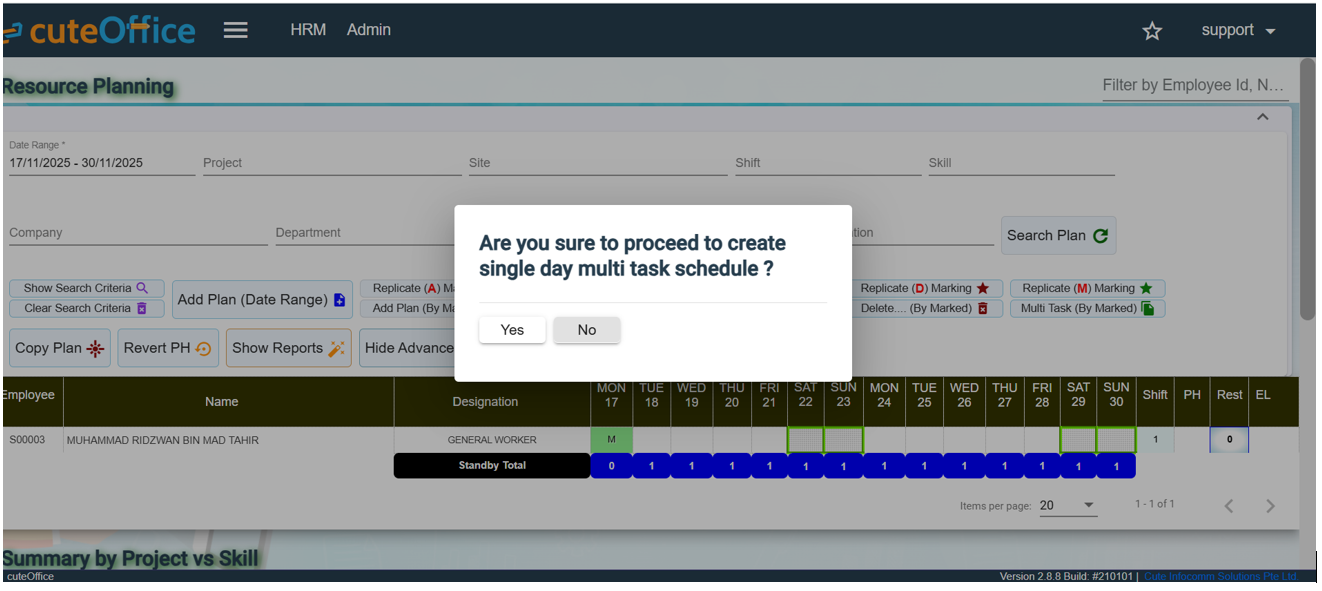
Multi Task planning
If an employee is required to work on more than 1 task each day, position the cursor on the cell and click until the alphabet is showing M (green cell) and click on this  button.
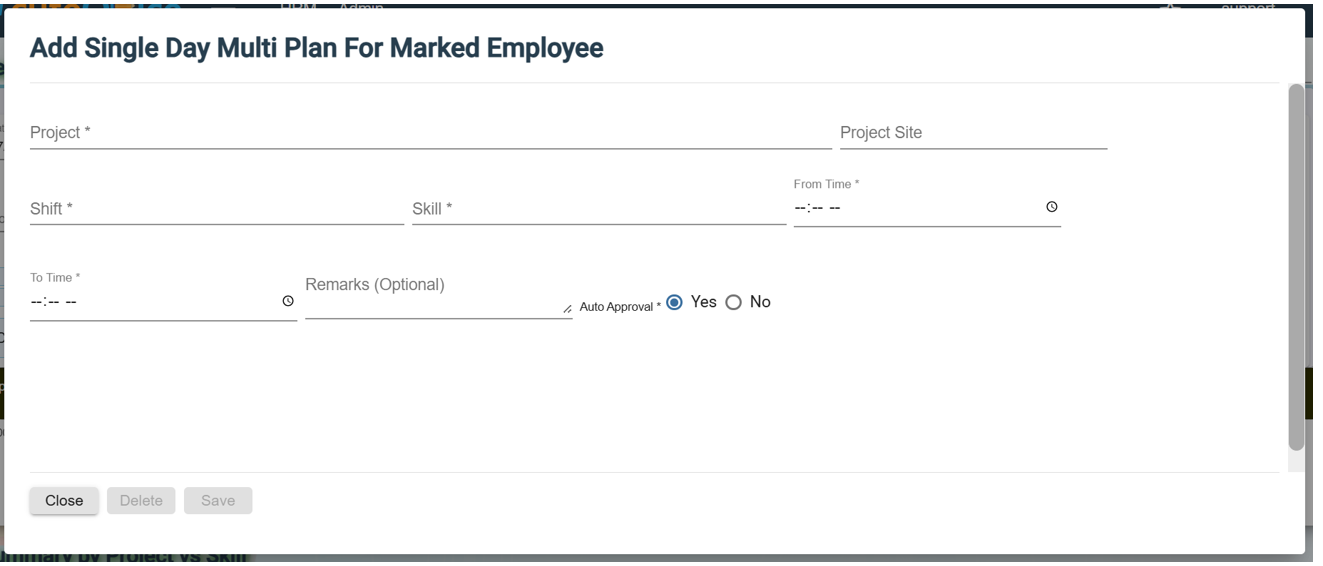
Update on project, shift and the timing required for this task.
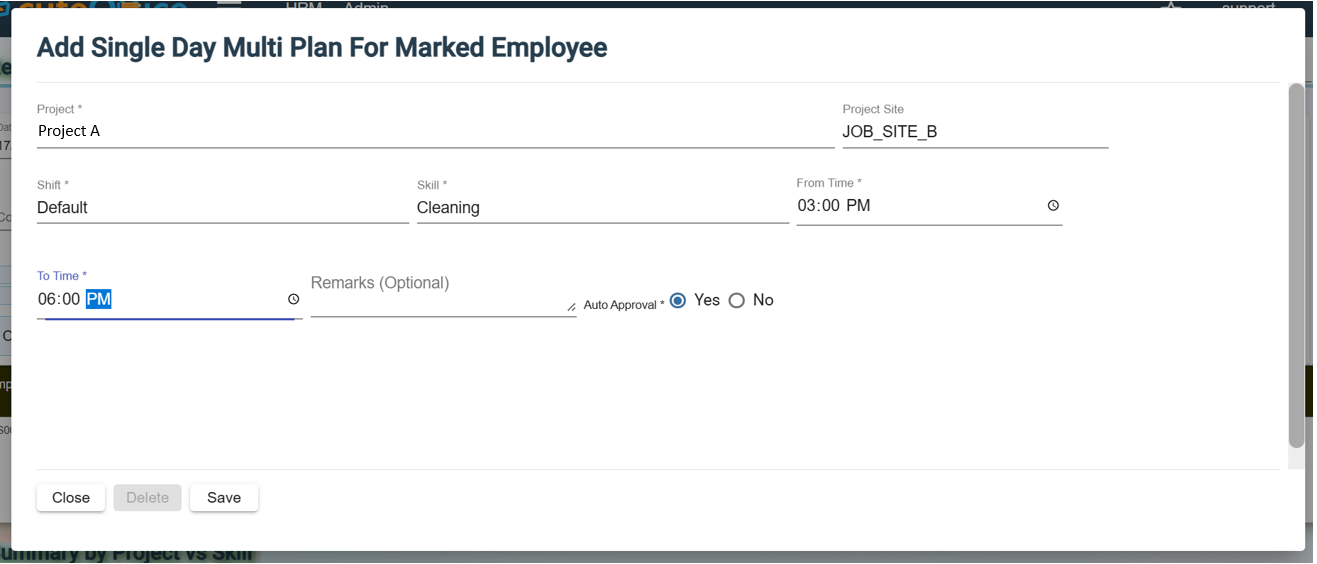
Once saved, you will noticed that the particular day cell shows 2 colors and there is blinking number indicated 2 i.e. 2 tasks for this day of this employee and when moused over the cell, you will see the details of the 2 jobs created for this employee of this selected day.
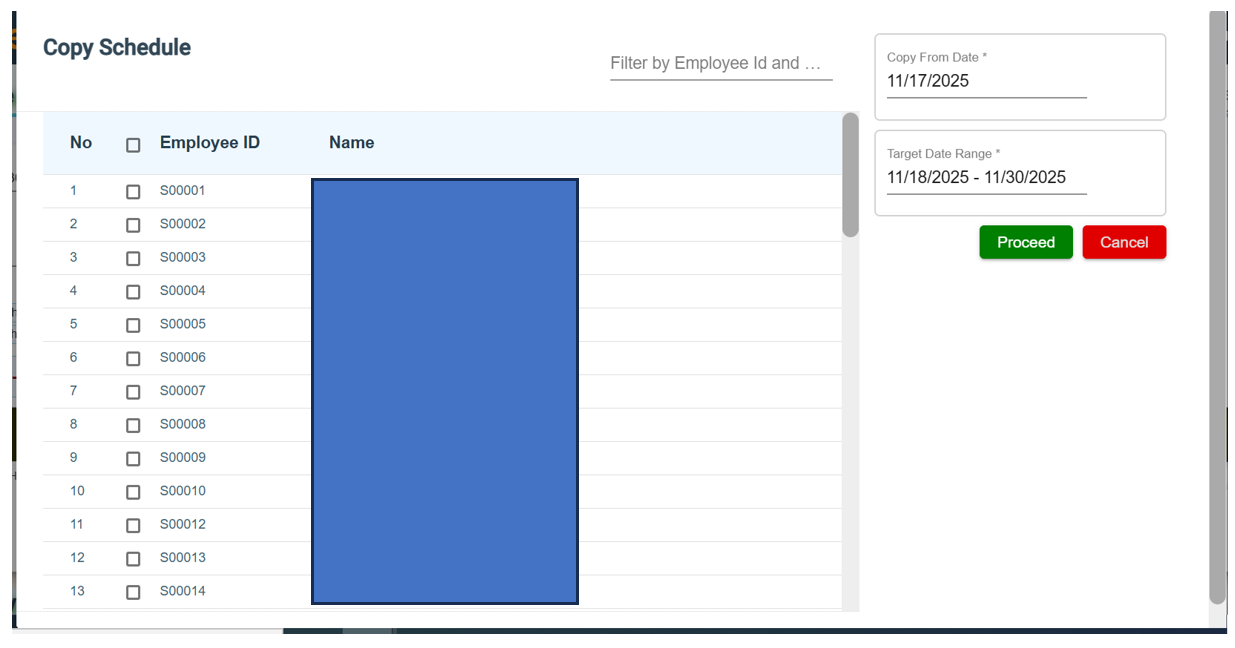
Click on this  button if you want to copy a plan to another employee(s). Refer to below screen.
Click on this ![]() button to display reports on planning.
button to display reports on planning.
Others
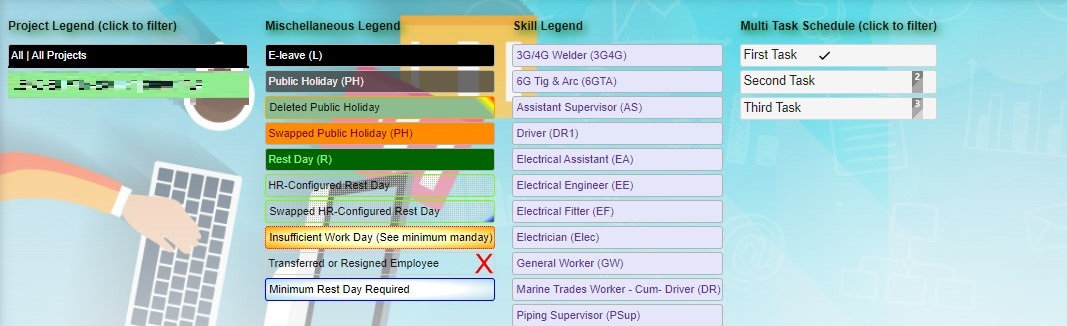
At the bottom page of the resource planning, system provide legend details for user’s reference.
Special Settings
List all employees in Plan Module with excluded Time or Both
To list down all employees in the resource planning module who have exclude time/eleave as "Time" or "Both" in HRM page.
- Enable permission "listAllEmployeesInDropDown" in the Plan Module role to assign for the user


No Comments