
Geopunch
Capture attendance using Mobile App. The geofencing and biometric validations are optional
App Installation
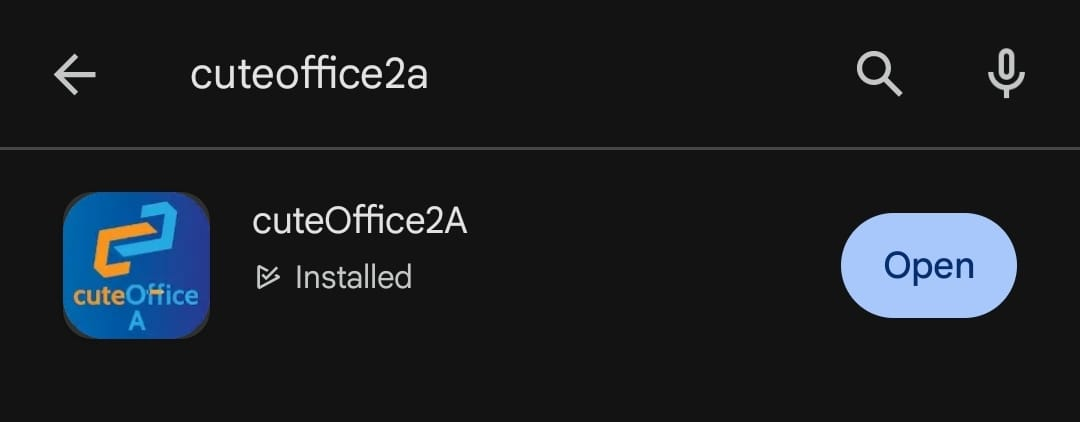
Install the App cuteOffice2A by searching cuteOffice2A and install the App.
Alternatively use the links below to install.
iOS Devices
https://apps.apple.com/us/app/cuteoffice2a/id1535384738
Android Devices
https://play.google.com/store/apps/details?id=com.cutech.cuteOffice2A&pcampaignid=web_share
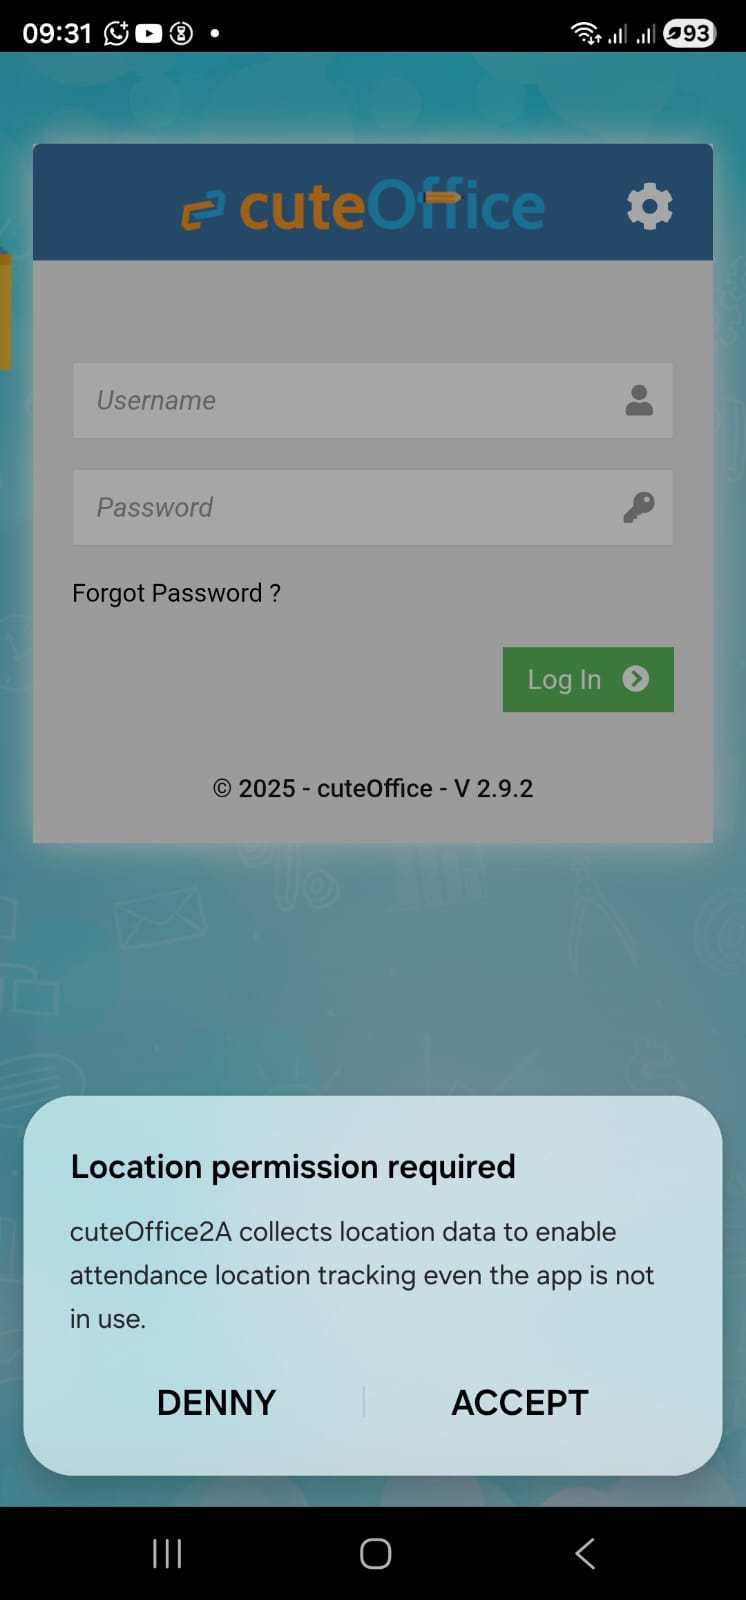
Open the App.
When opening the app for the first time, click continue at this background location prompt. If you click Exit then the app will be closed. The application needs to capture the location for attendance purposes.
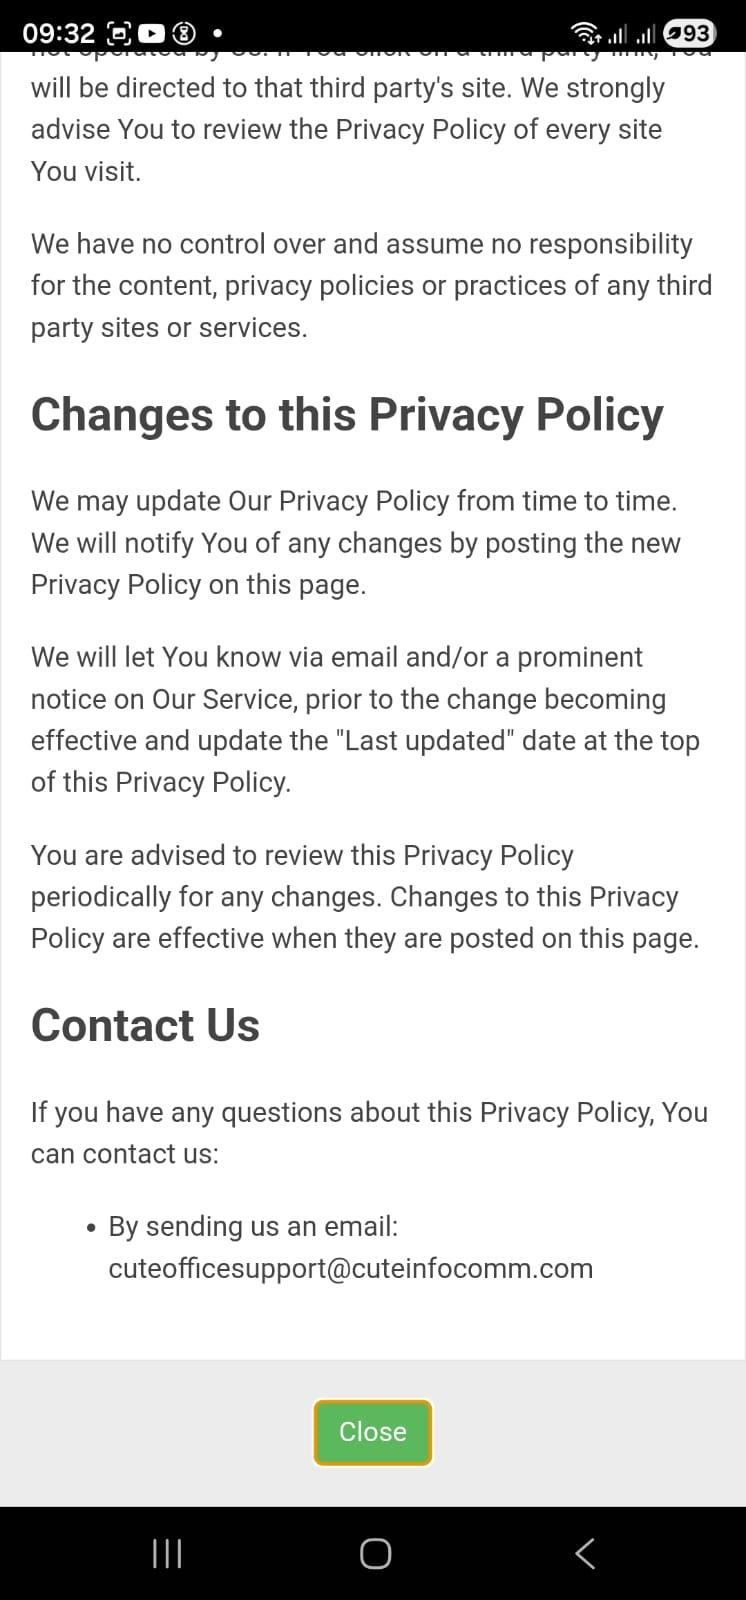
Read the Privacy Policy and Click Close
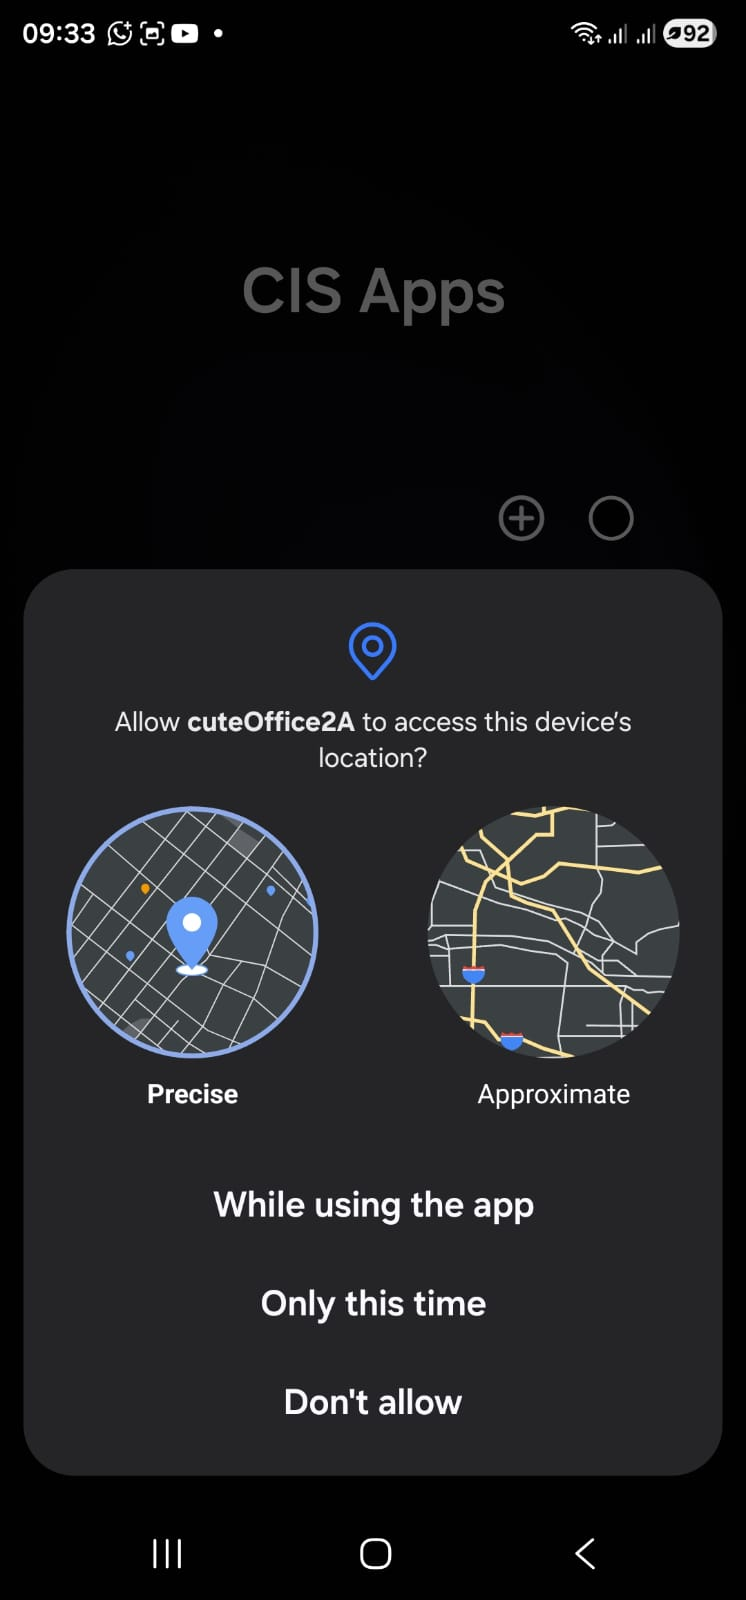
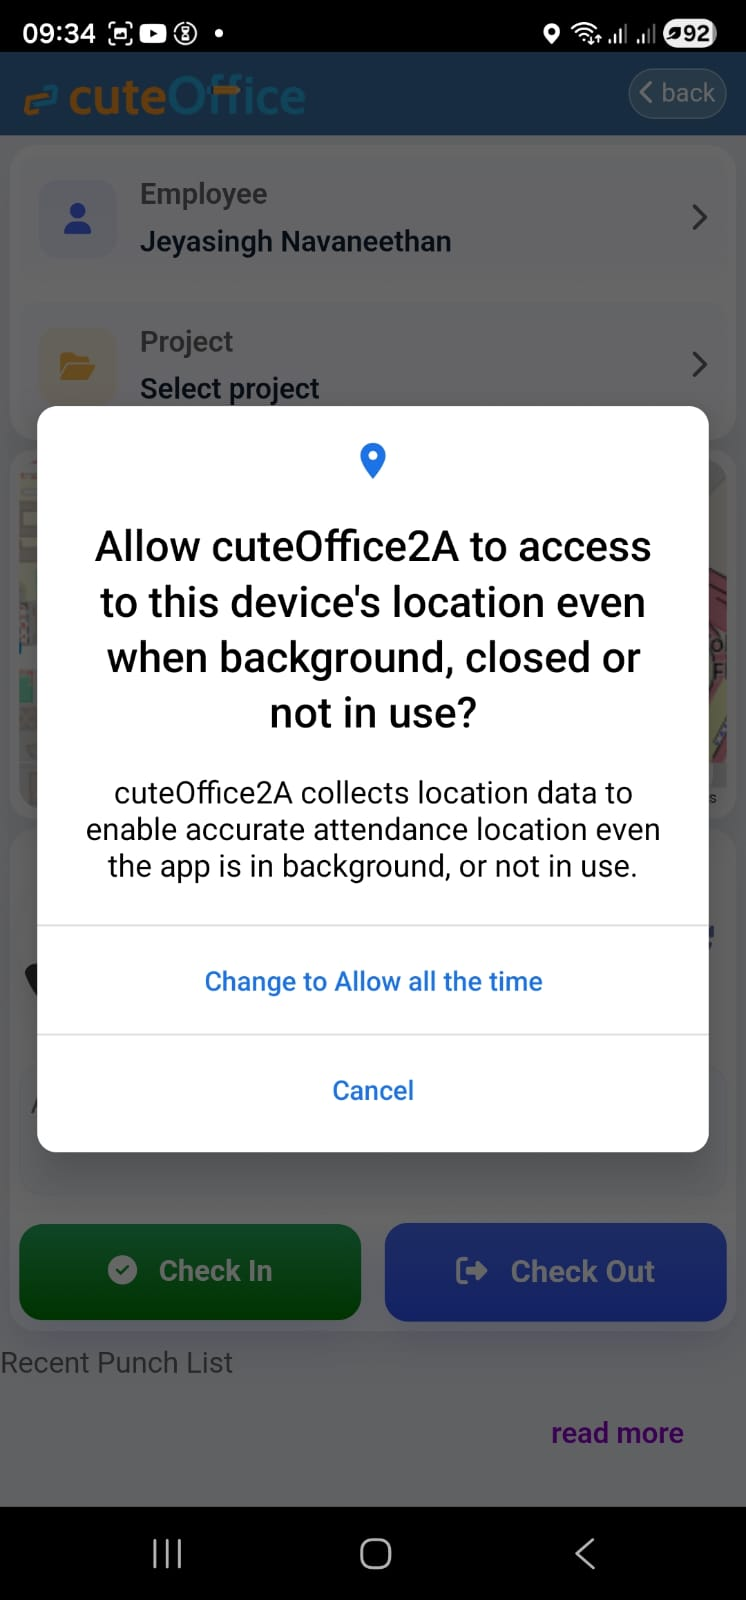
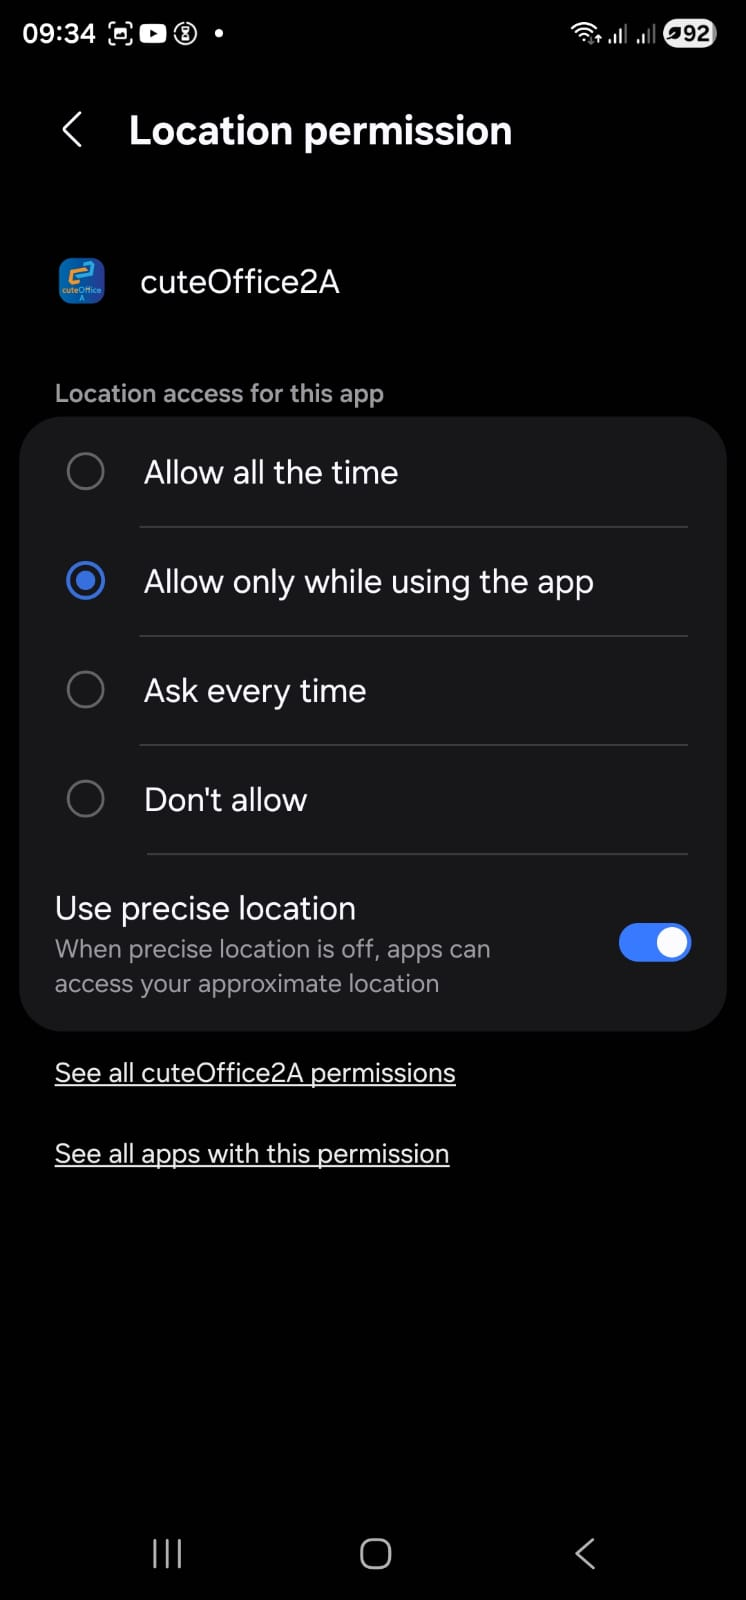
Next the App will ask you for permissions to access location on your device, click Allow all the time.
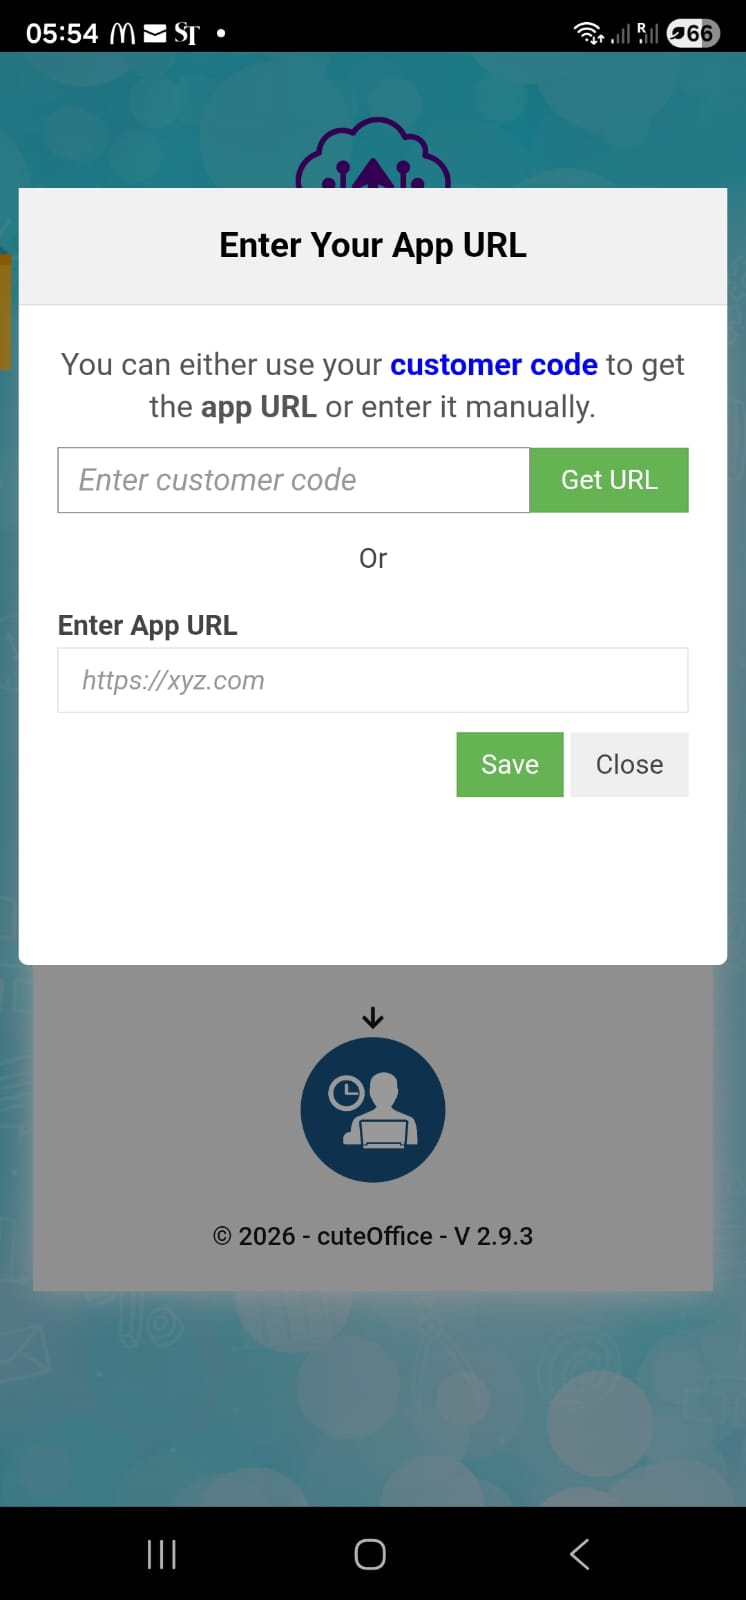
First time, as one time exercise, it is mandatory to enter the correct Application URL to access
The URL can be retrieved by the client code also. Contact your HR for the client code. Enter the code and click Get URL to fill the URL directly.
Otherwise enter https://***.cuteoffice.net (Get the correct URL from your cuteOffice administrator or HR)
Click Save.
User may need to restart the App after entering the URL.
Register device for attendance
Click Attendance Icon.
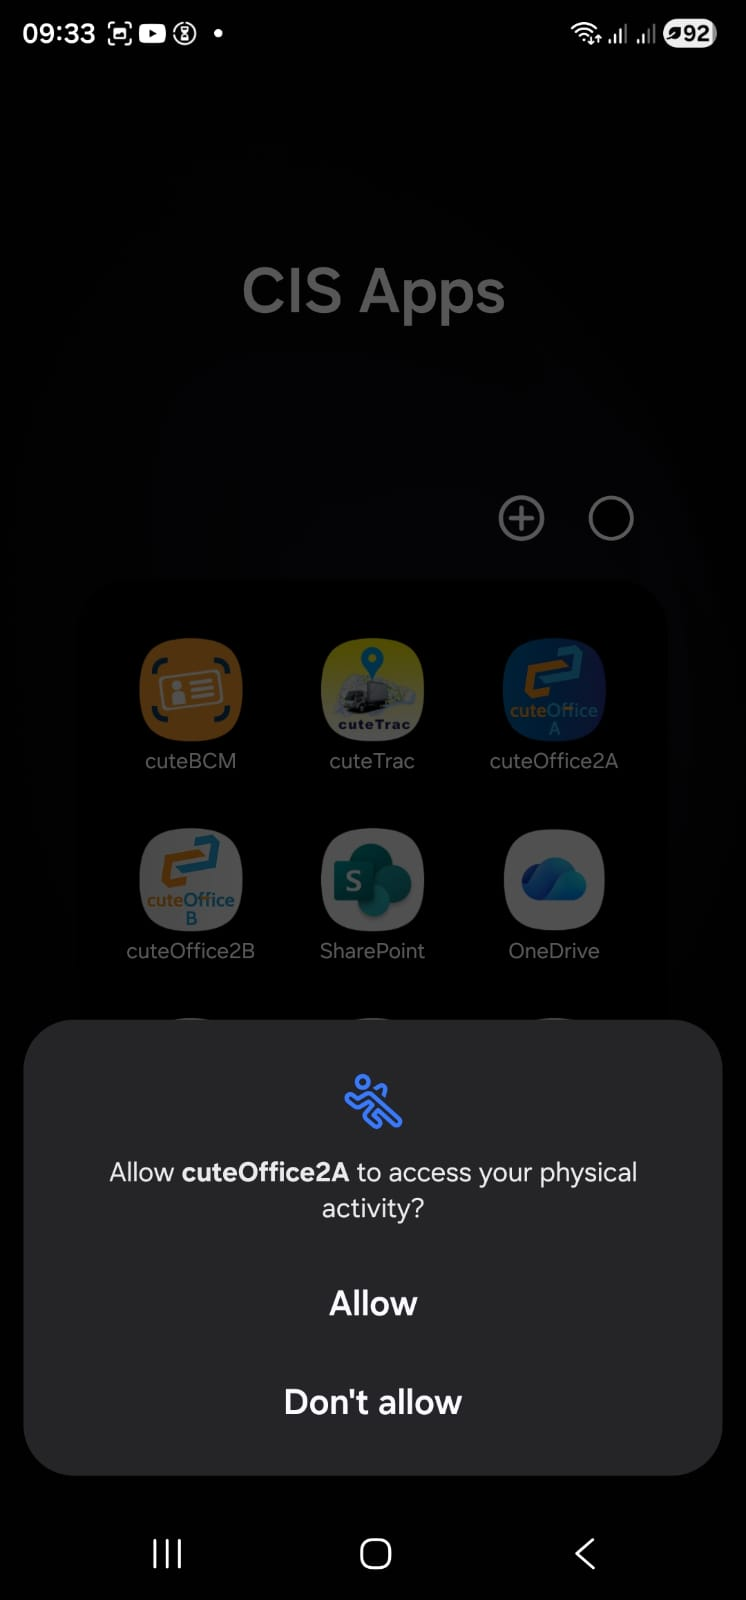
Click Allow All the time
Click Allow the App to access
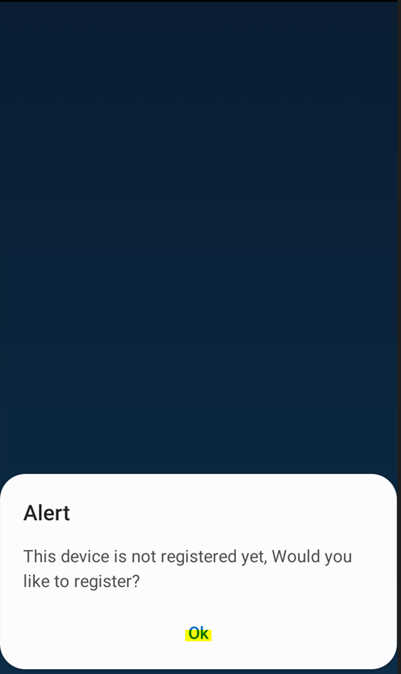
Click Ok to register


Enter your name and employee ID and click Register.
Click Ok to restart the application.
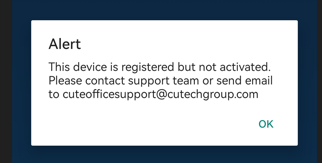
Inform your HR to activate the device. (See the last section in this document on how to activate)
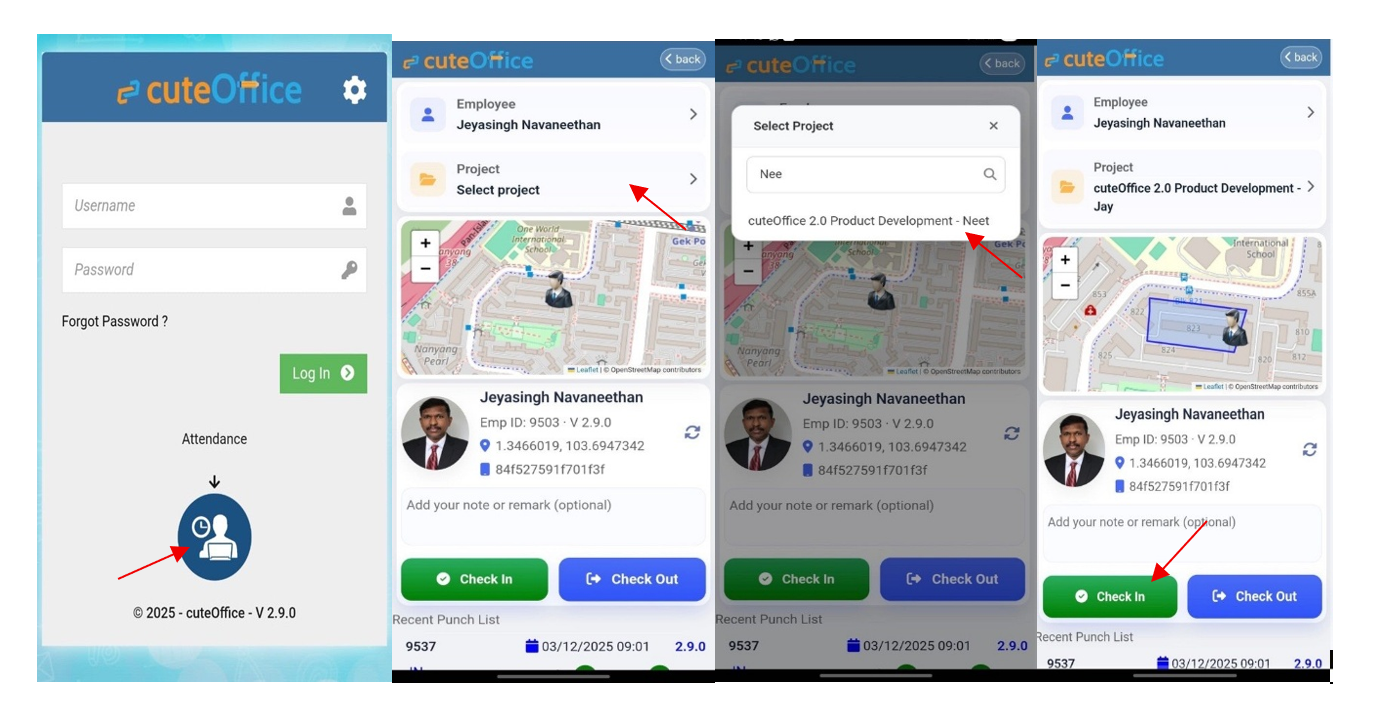
Once the device is activated, the below window will open
- Please click on the highlighted icon to do the sync on the mobile to see the project list (depends on the device activation as per below point) and profile image.
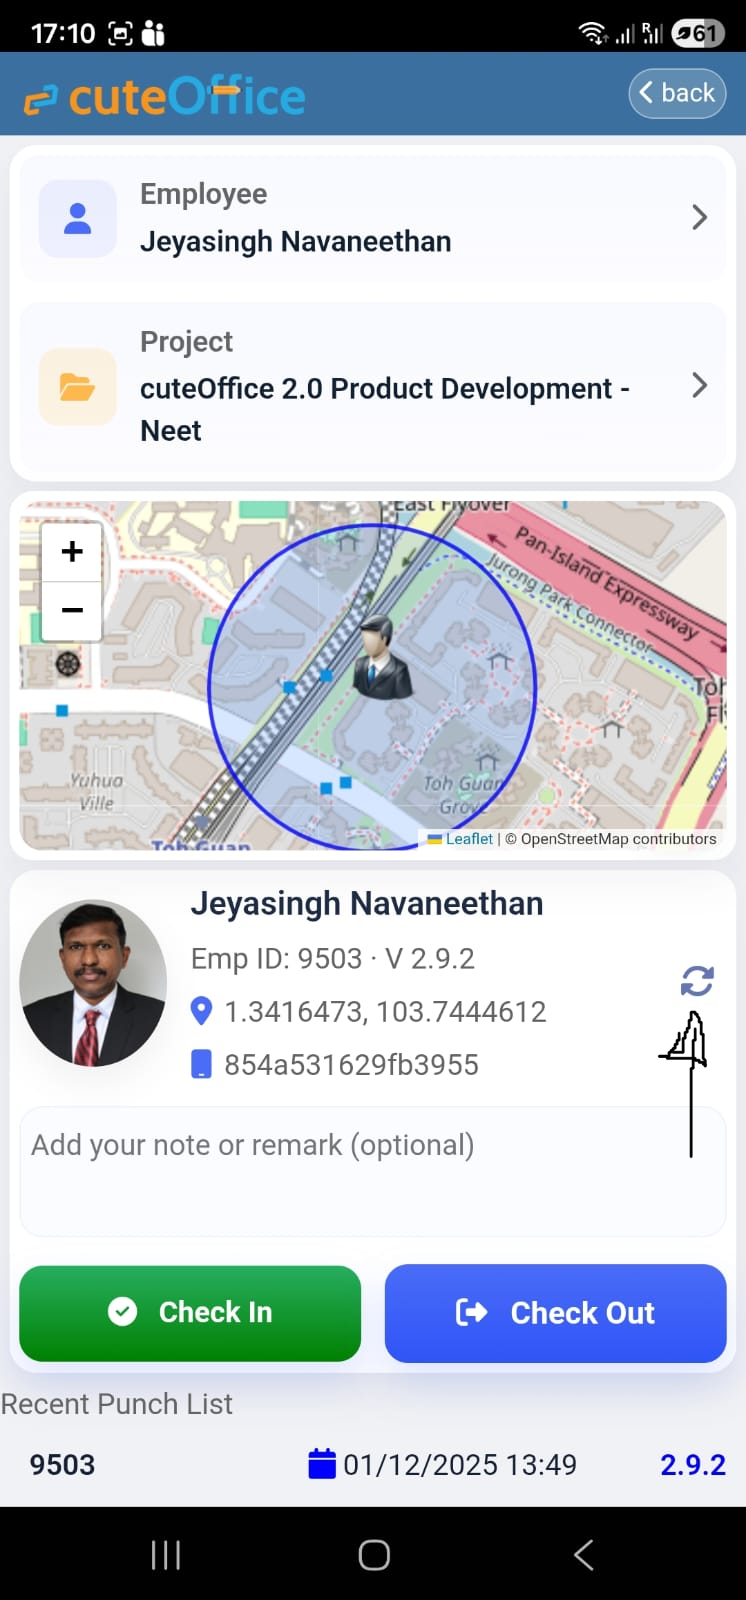
Check In
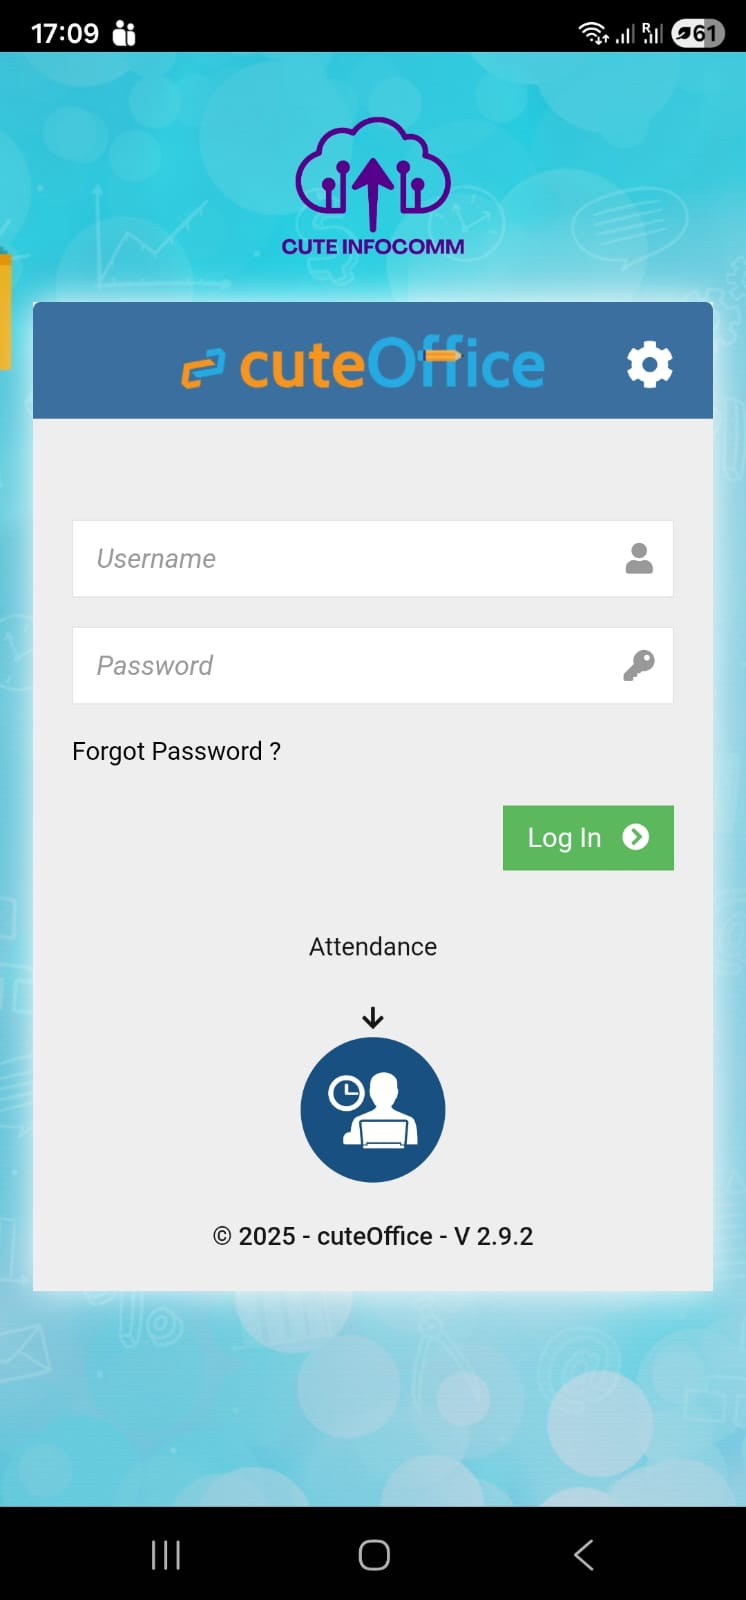
- Open the App. Don’t login
- Click Attendance icon.
- Select project
- Click Check in
- Take Photo when camera is launched.
Attendance taking is completed.
Data Shown in Recent Punch
Keep the App open until the punch status is green so that it syncs to the server.
Check Out
Do the same but click click Check Out button.
Activating the Device
Click on Masters - Devices
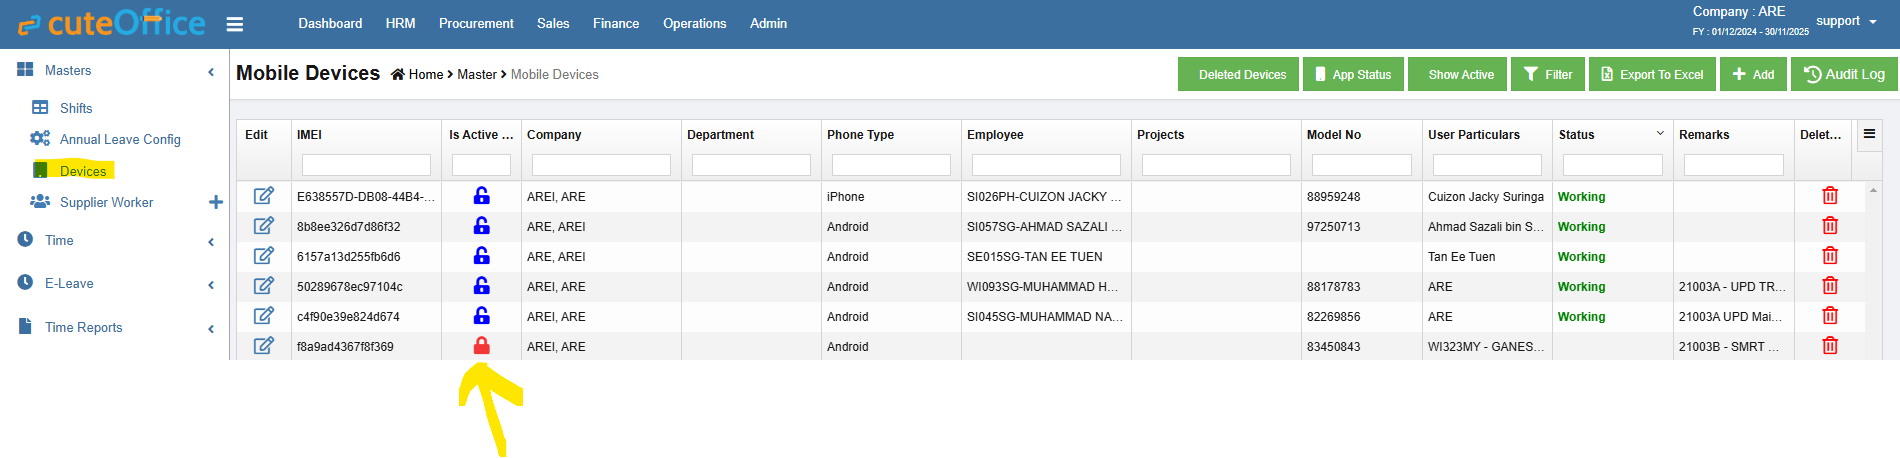
The device that are on Red color locked ones are not activated yet. The user particulars has the details entered by the user when registering such as their name/employee number etc.
Click the Edit button
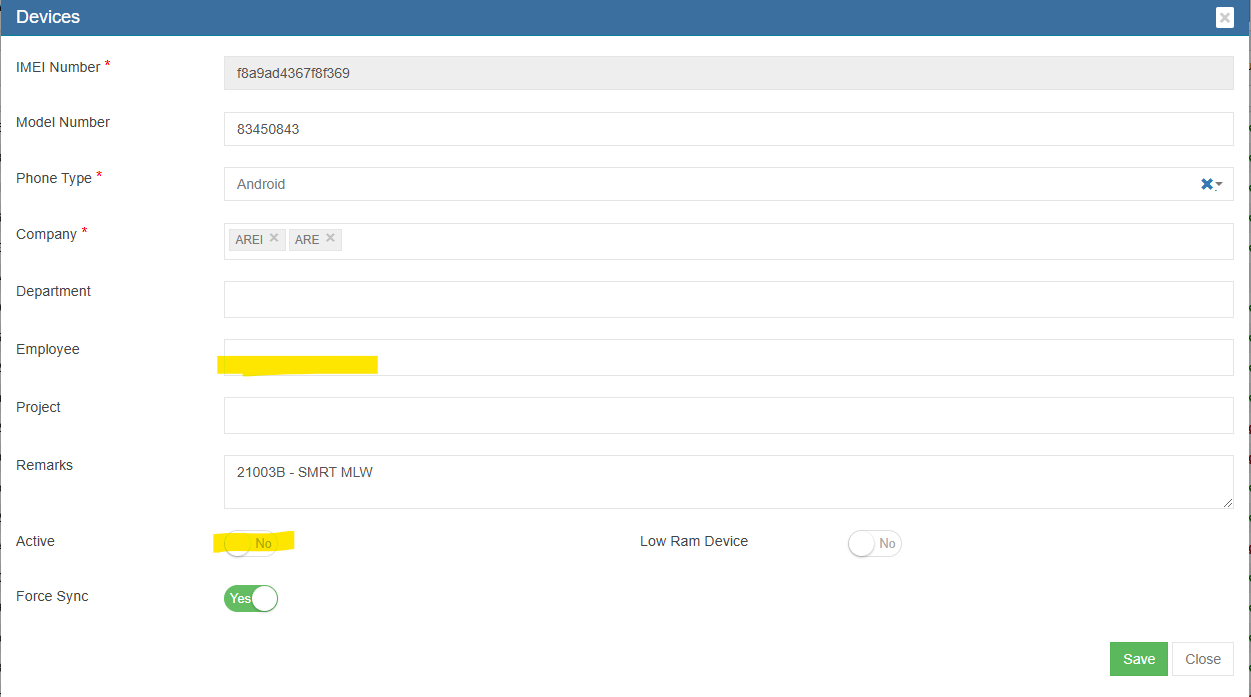
Select the employee name and click the Active Toggle. Finally Save.
Restricting Projects
The list of projects shown to the end users on their phone is decided by the company / department / project selection in this window. To show all the projects from all companies, simply select all the companies and dont select any department / project. Leaving the project empty will make all the projects available to the users.
If only certain projects to be seen by the end user, select the project that has to be shown. Finally click Save.
No Comments