cuteFM
Facility Management Made Easier
- Login
- Facility Preparation
- Defects
- Licenses Management
- Contracts Management
- Tasks Management
- RFQ Management
Login
🧾 cuteFM Login Page
📍 Website
URL: https://cutefmng.megaappz.com
🔐 Purpose of the Login Page
The login page is the secure gateway to access your organization’s Facility Management modules. Only authorized users with valid credentials can log in.

👣 Steps to Log In
-
Open the Website:
-
Visit https://cutefmng.megaappz.com on your browser.
-
-
Enter Your Credentials:
-
Username / Email: Enter your registered username or email ID.
-
Password: Enter your secure password.
-
-
Click ‘Login’:
-
Hit the Login button to proceed
-
🆘 Forgot Password?
-
Click on the “Forgot Password?” link.
-
Enter your email address.
-
You will receive a OTP in your email which you can enter to reset your password.
-
Follow the instructions to reset your password.
✅ Login Success
-
Upon successful login, you will be redirected to your Dashboard.
-
From here, you can access modules like Defects, Maintenance, and more based on your role and the modules the company has purchased.
❌ Login Errors
-
Invalid Username/Password: Double-check credentials.
-
Account Locked: Too many failed attempts? Contact your system administrator.
🔐 Security Notes
-
Your credentials are encrypted and transmitted over HTTPS.
-
Ensure you're using a secure network.
-
Do not share your password with anyone.
-
Always log out after use, especially on shared devices.
📞 Need Help?
If you're having trouble logging in, contact your administrator or email us at support@cuteinfocomm.com.
Facility Preparation
Upon login, the dashboard will be shown
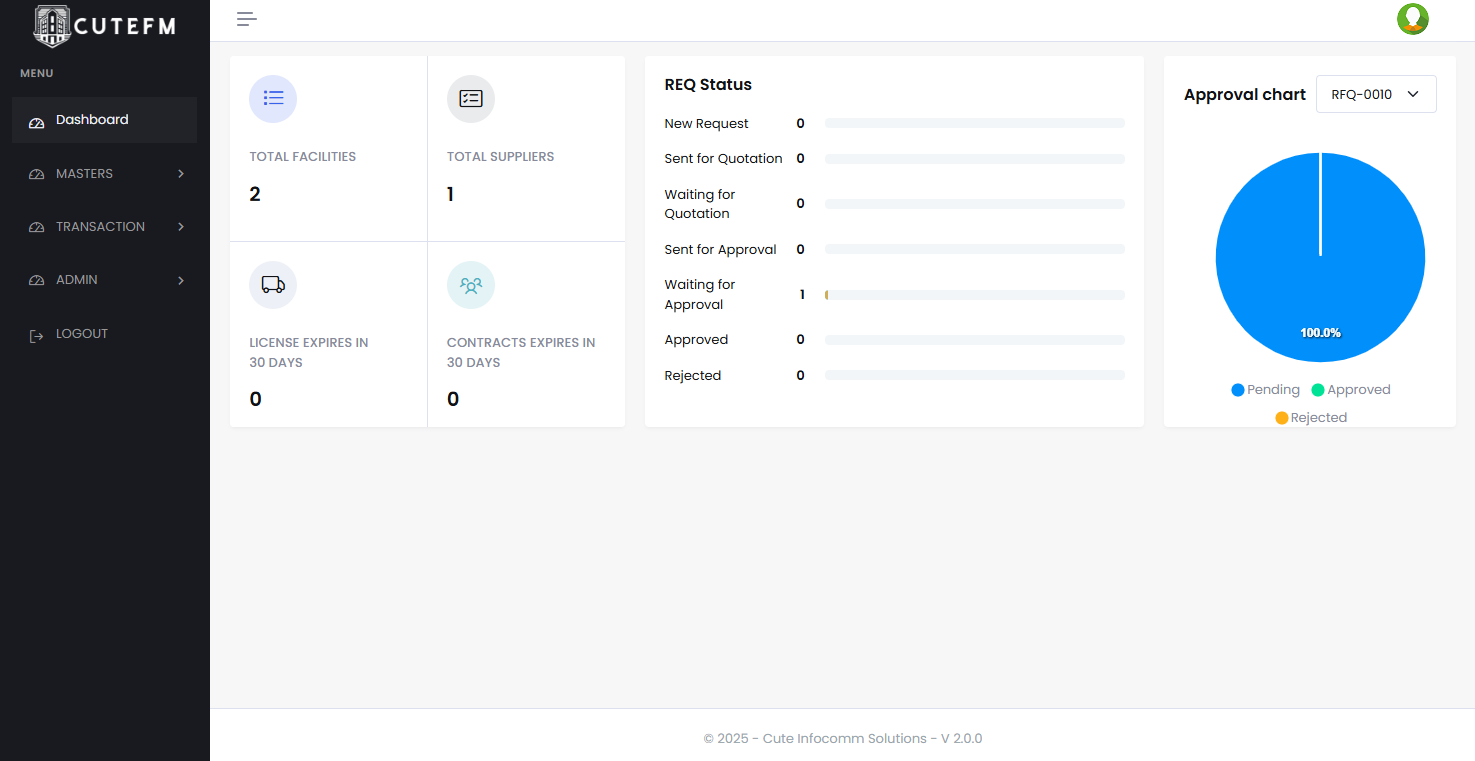
The facility should be updated with some of the basic information so that the users can start use the cuteFM application
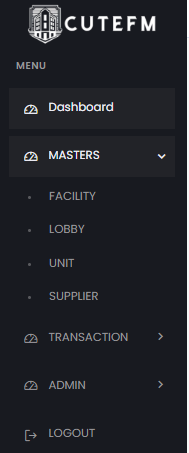
The facility is created by the administrator and users can manage the lobby and units under the facility.
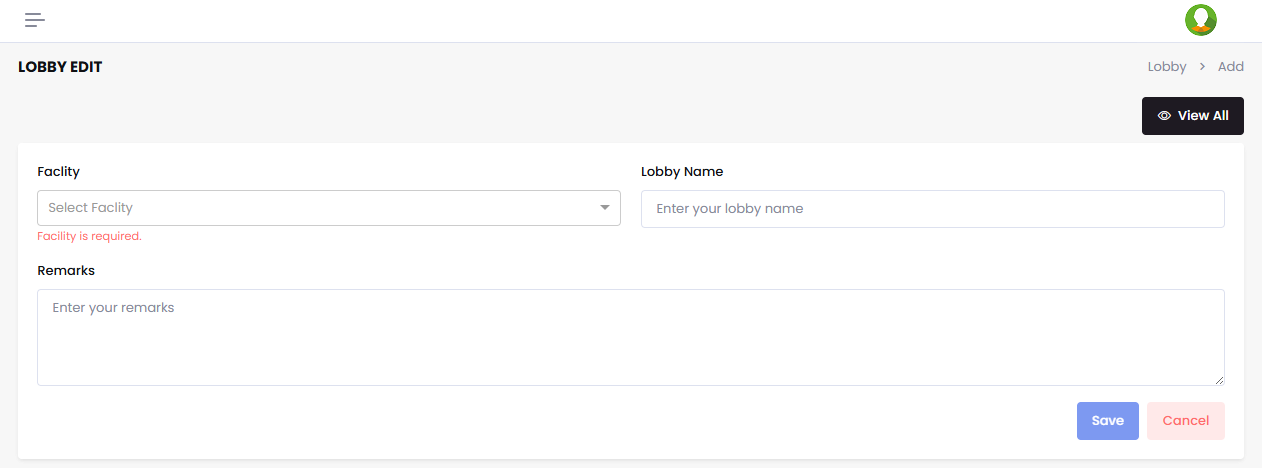
Create Lobby
To create Lobby details, Click Lobby and list of existing lobbies will display.
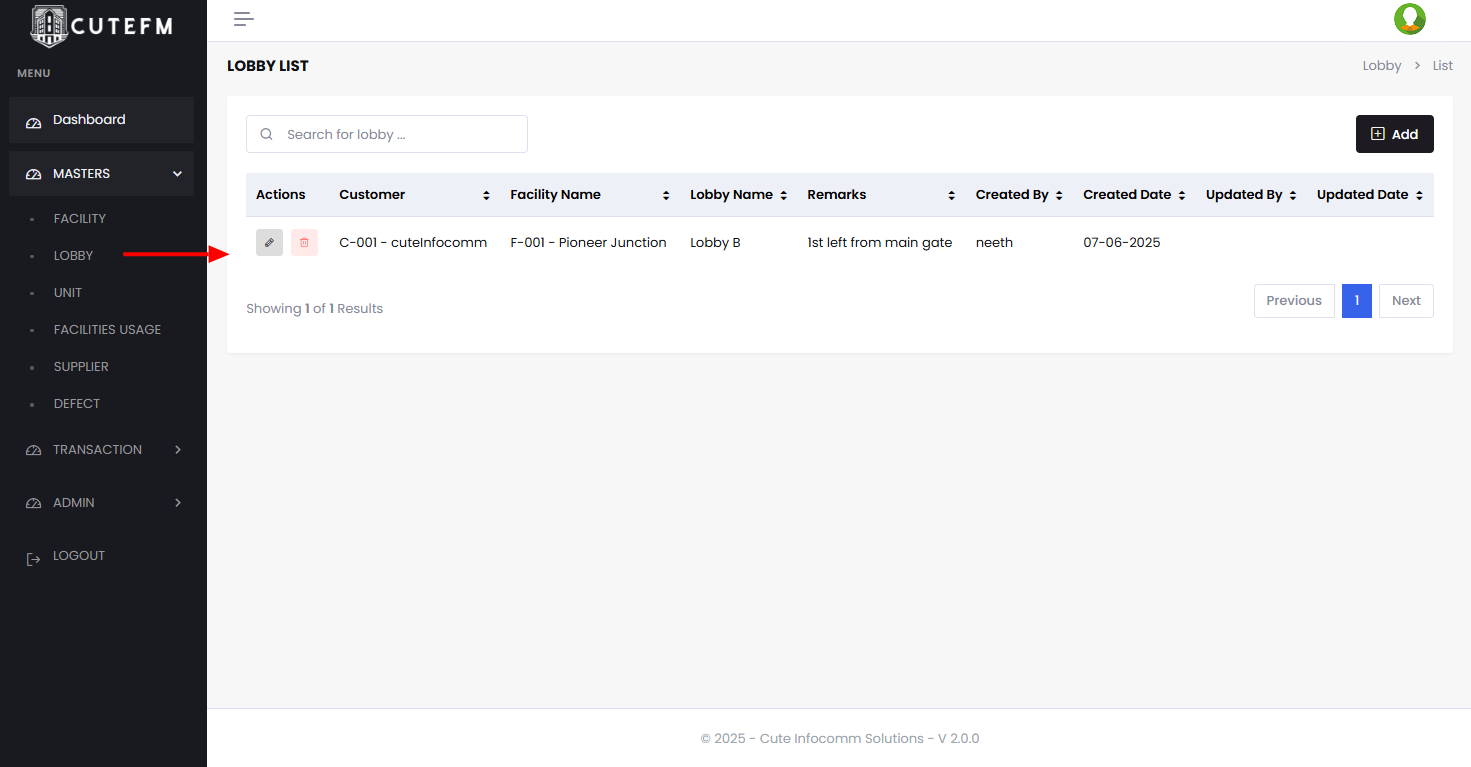
- Click Add
- Select the desired Facility from the list
- Enter the Lobby Name
- Click Save
✅ A new lobby will be created under the selected facility.
Create Units
Each Lobby can have one or more units under it and it has to be created
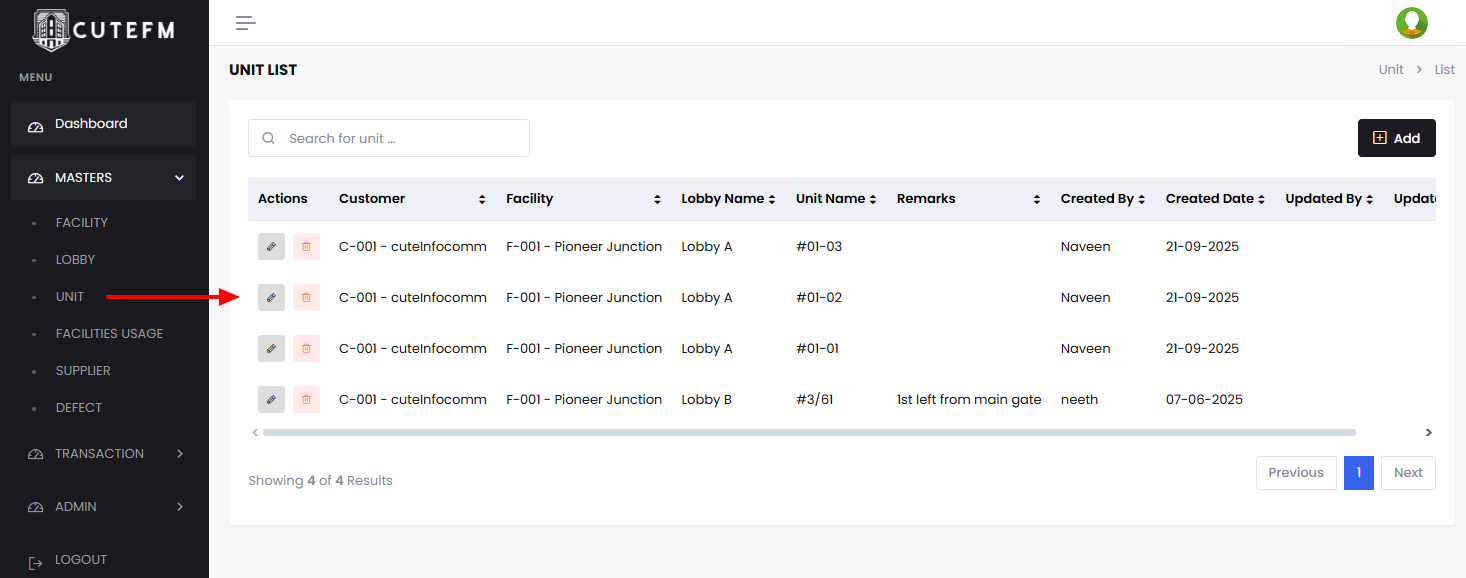
- Click Add
- Select the desired Facility/lobby from the list
- Enter the unit number
- Click Save
✅ A new unit will be created under the selected facility/lobby.

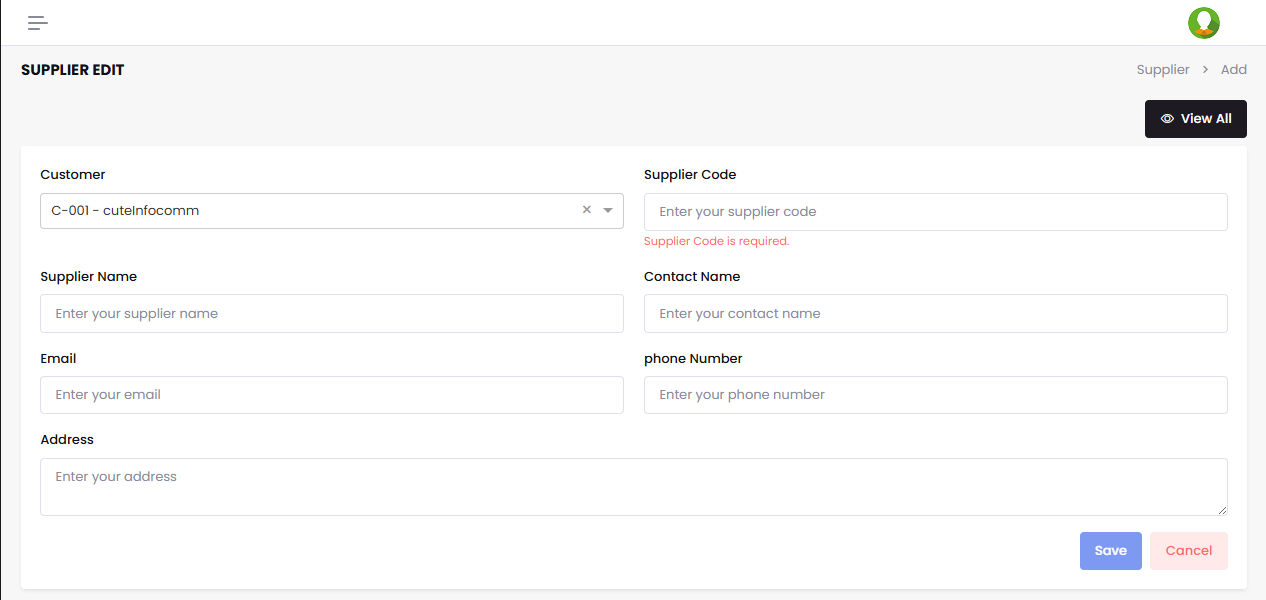
Create Suppliers
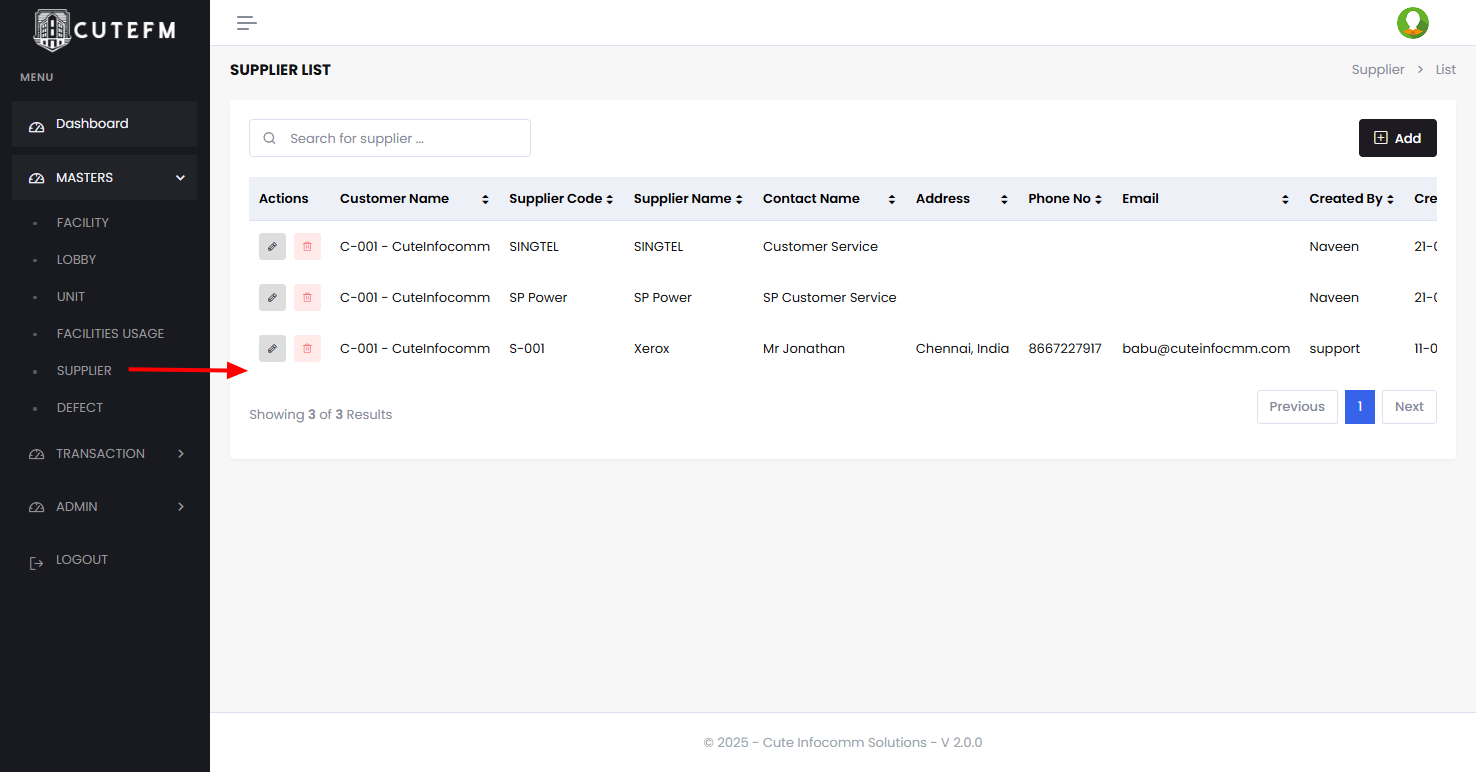
Suppliers list is managed here so that they can be used in transactions later.
- Click Add
- Select the company name from the list
- Enter the supplier code
- Enter the supplier name
- Enter their phone, email, address
- Click Save
✅ A new supplier will be created under the selected company and can be used by all their facilities.
Defects
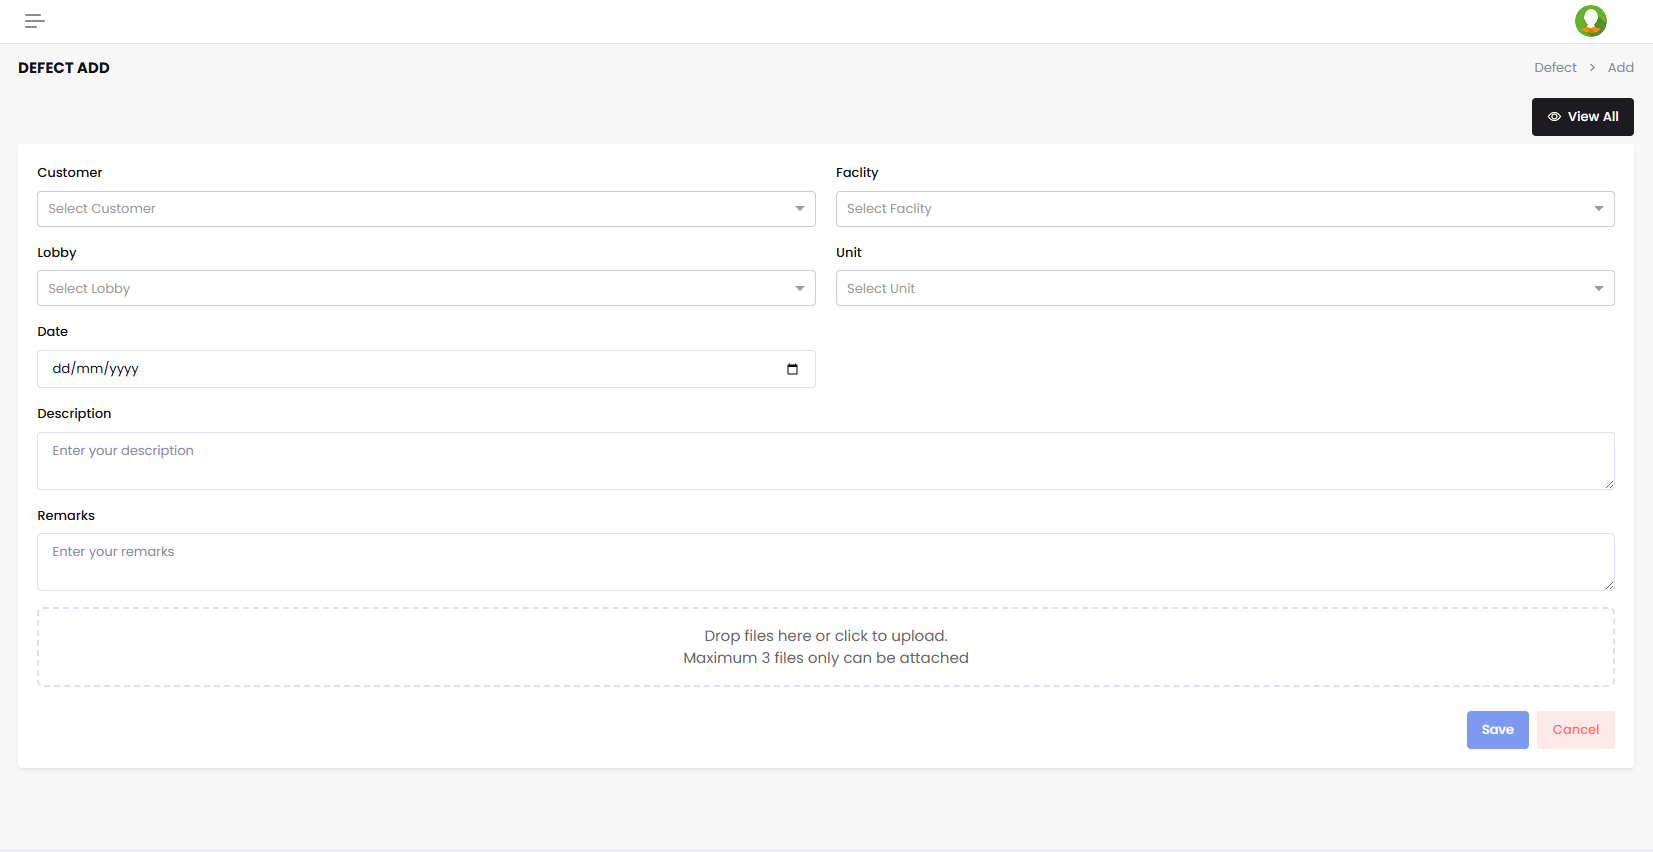
To add and register a new defect under a facility,
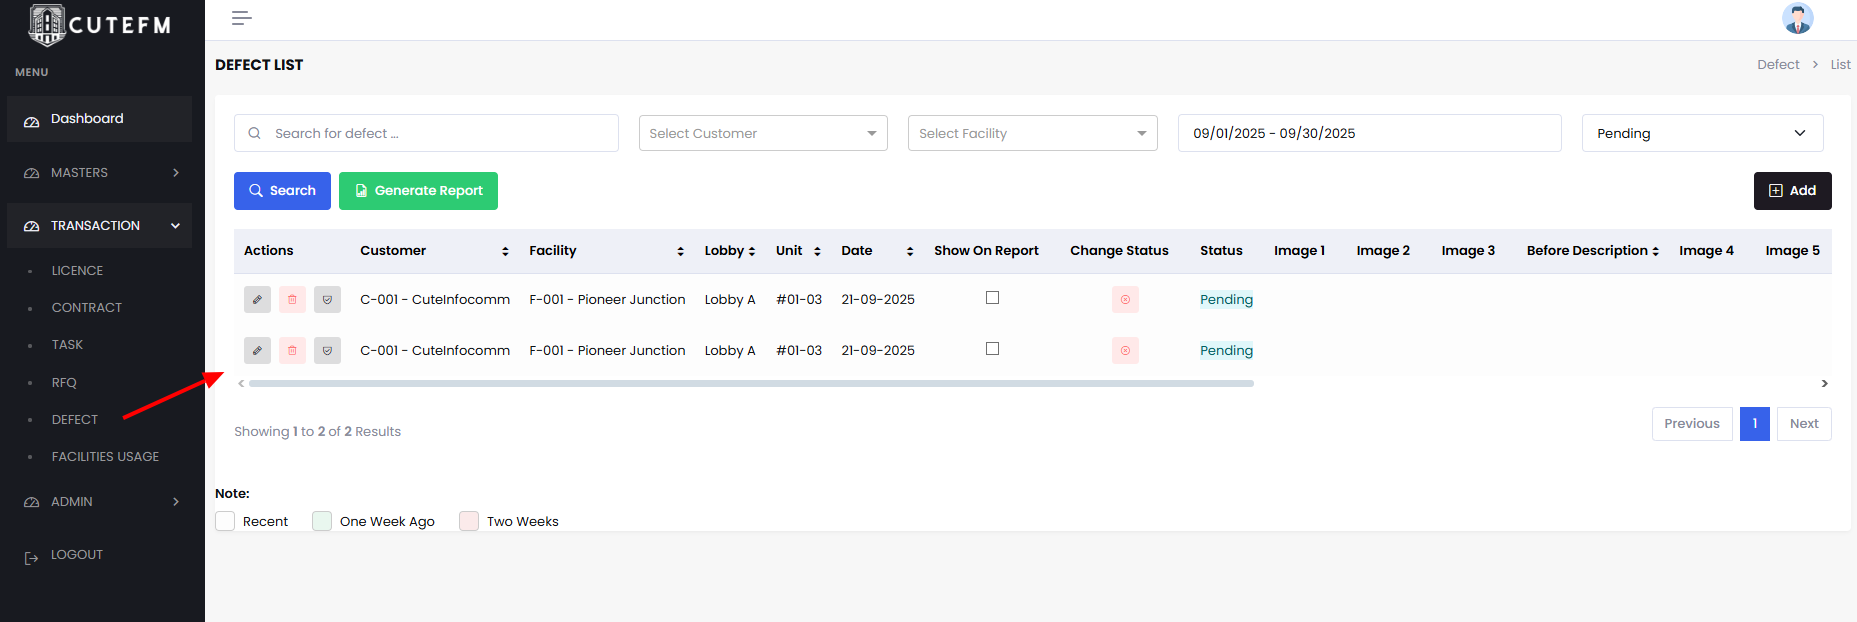
Click Add to capture a new defect.
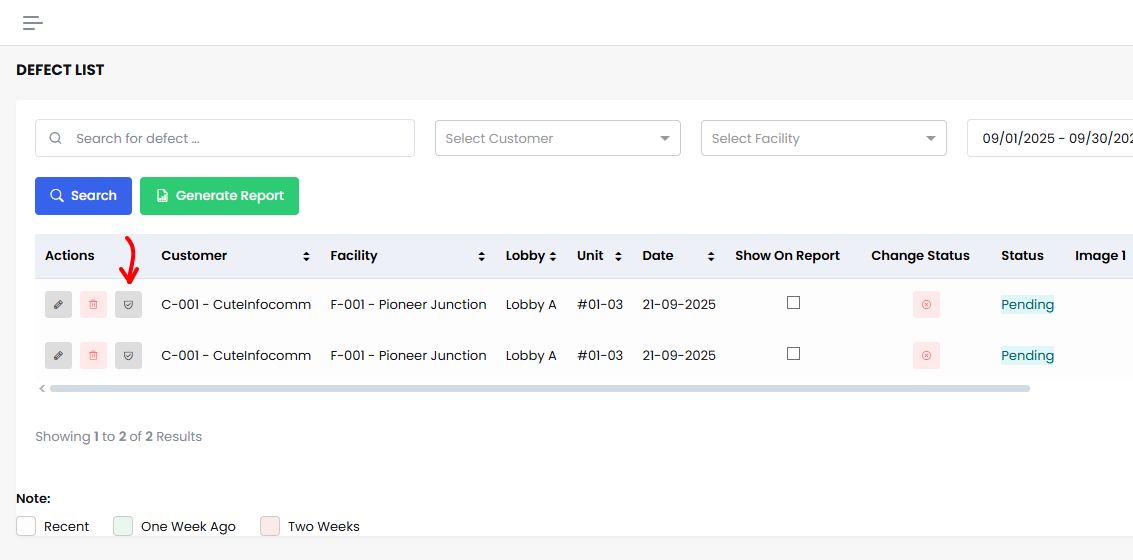
To update the status of the case click on the update button
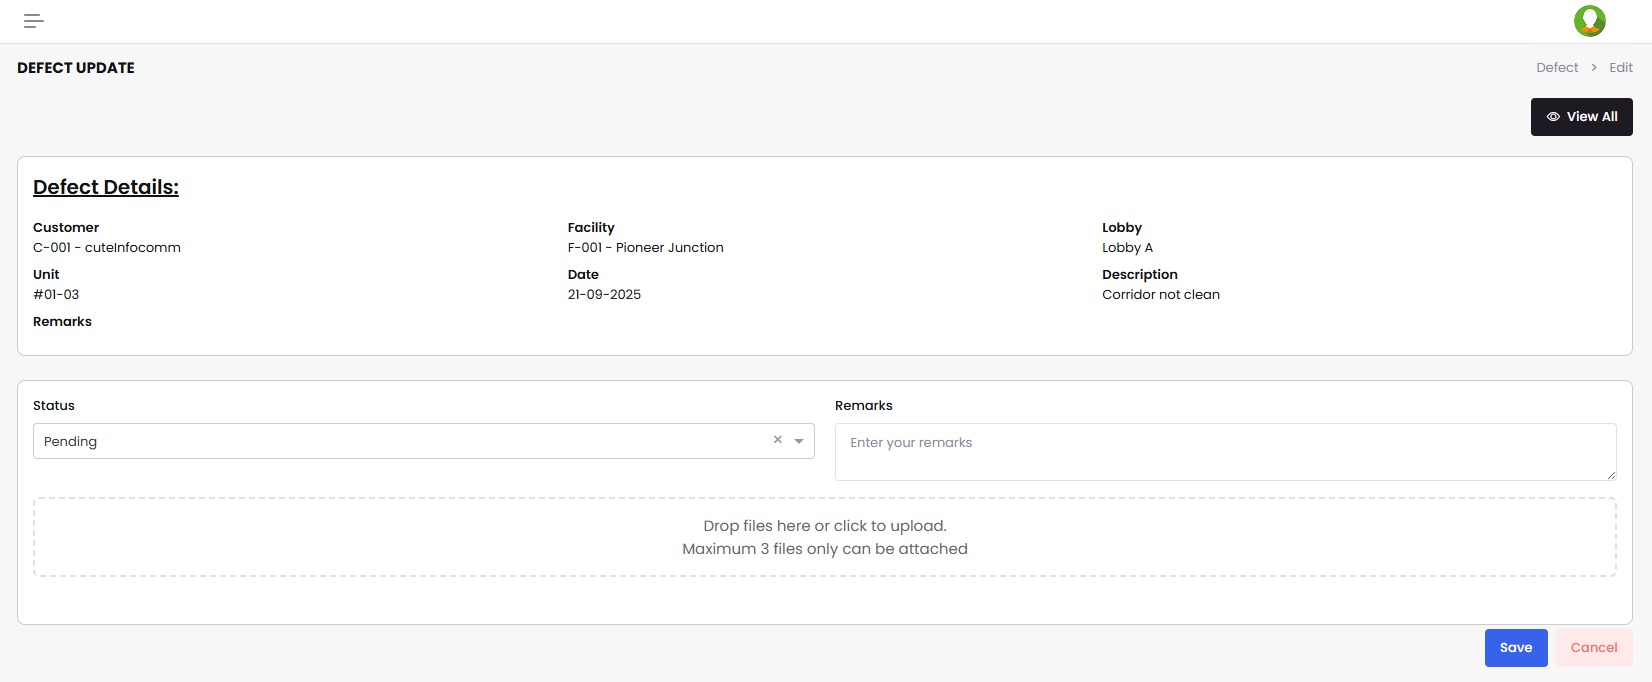
- Change the status
- Add Remarks
- Upload photos
- Click Save
Licenses Management
The list of licenses managed are listed here
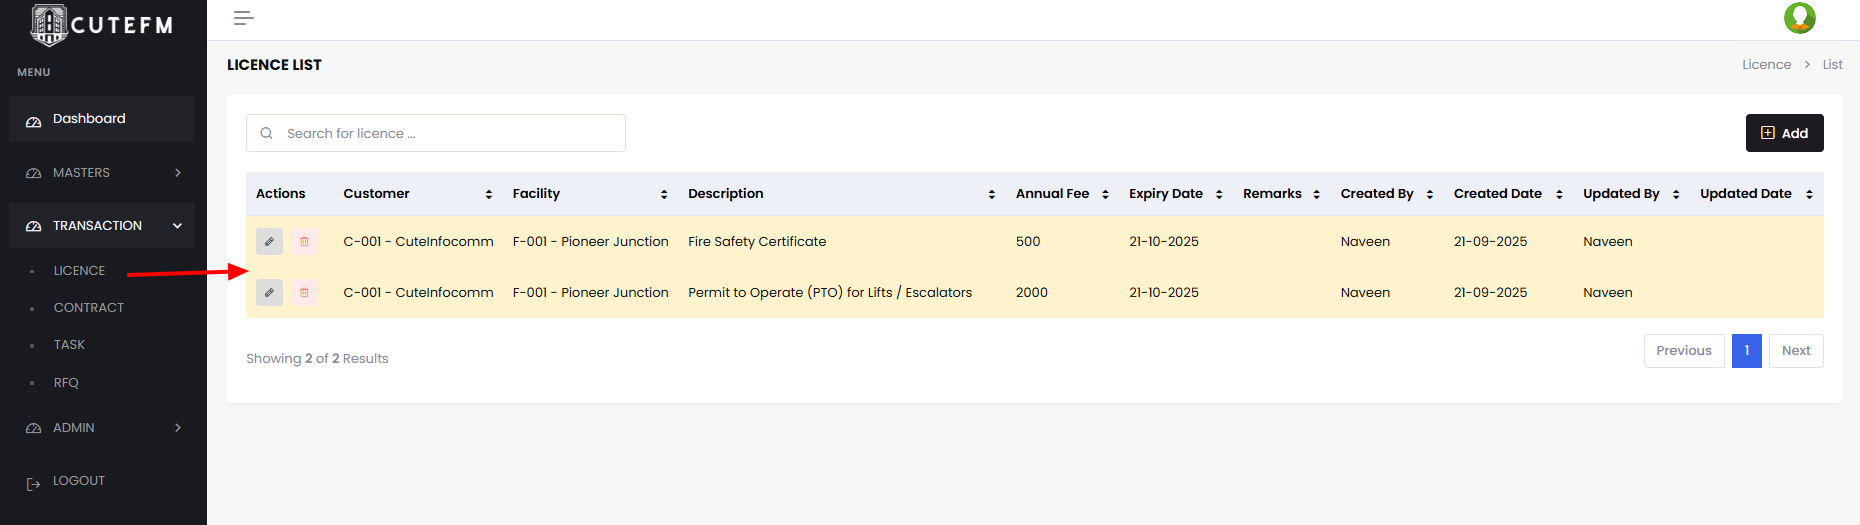
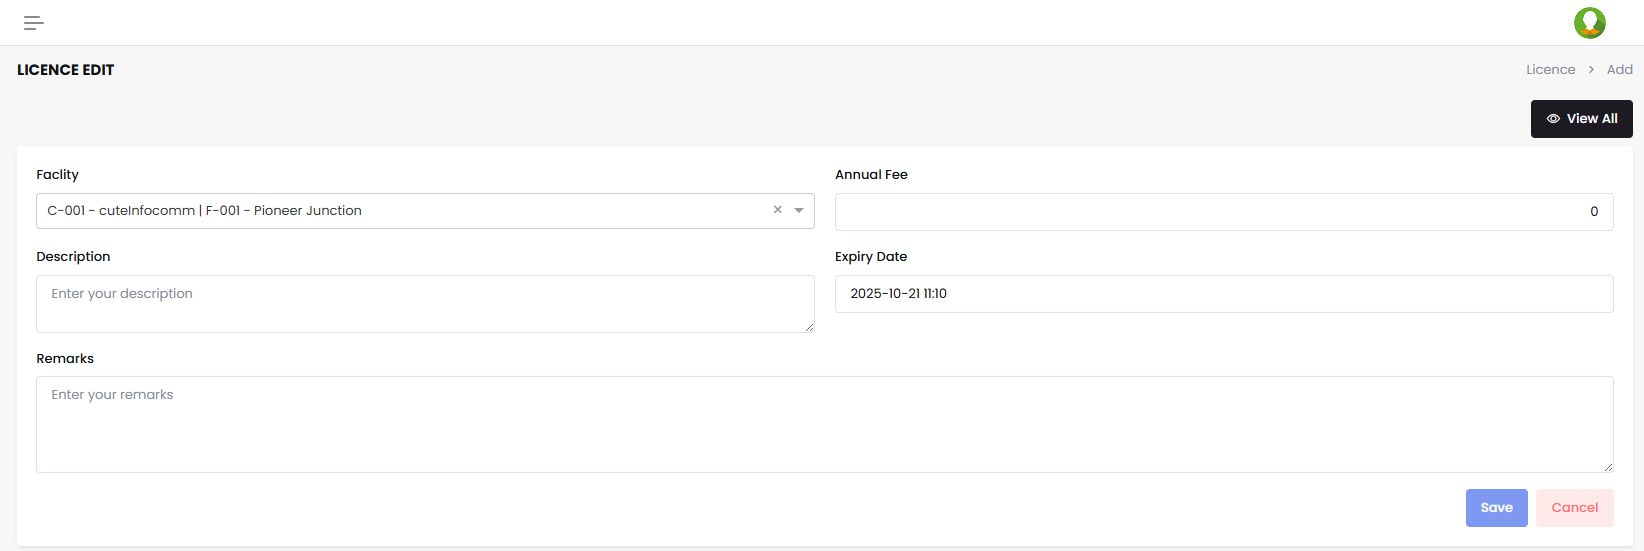
To add a new license
- Click Add
- Select Facility
- Enter the description
- Enter Amount
- Enter Due Date
- Click Save
Contracts Management
Each facility will have many contracts under the management and needs to be managed on time.
Click Contracts to manage it
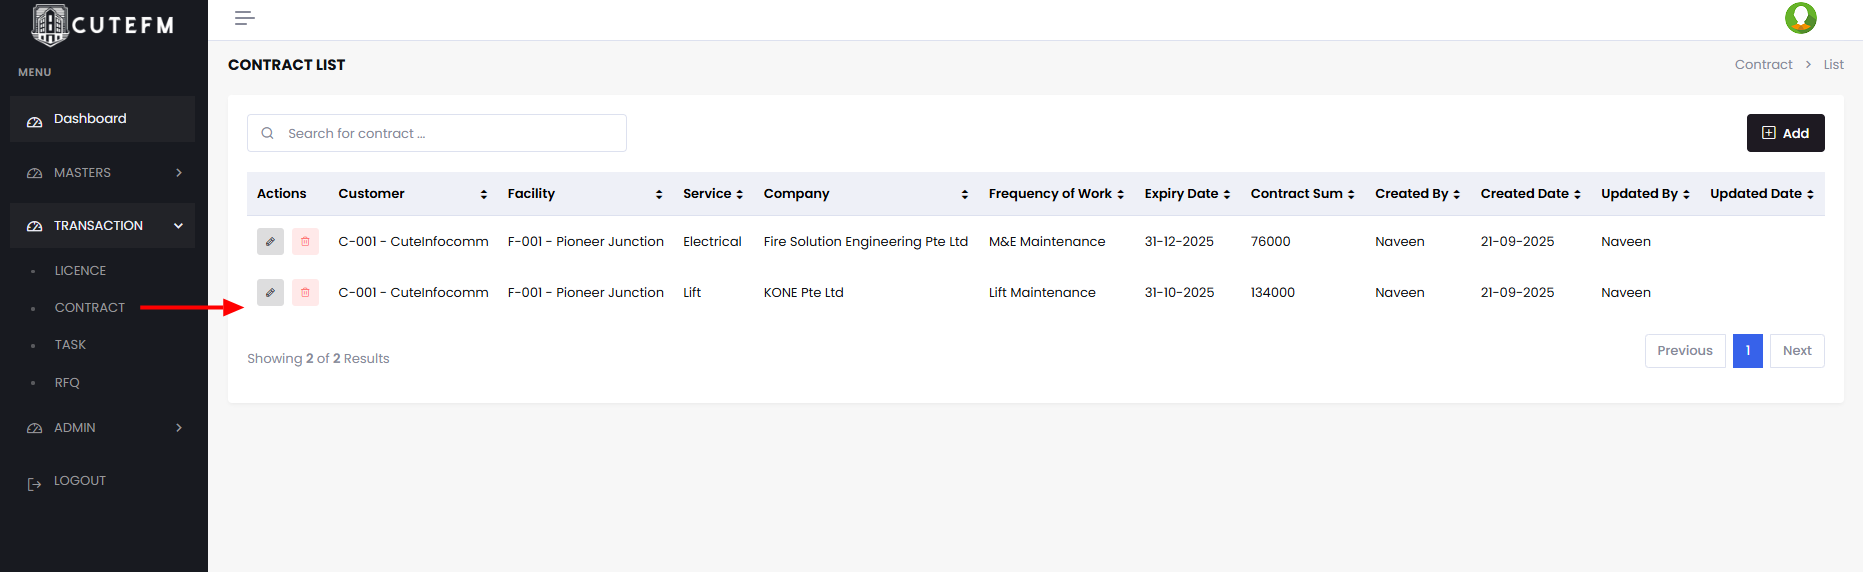
Click Add
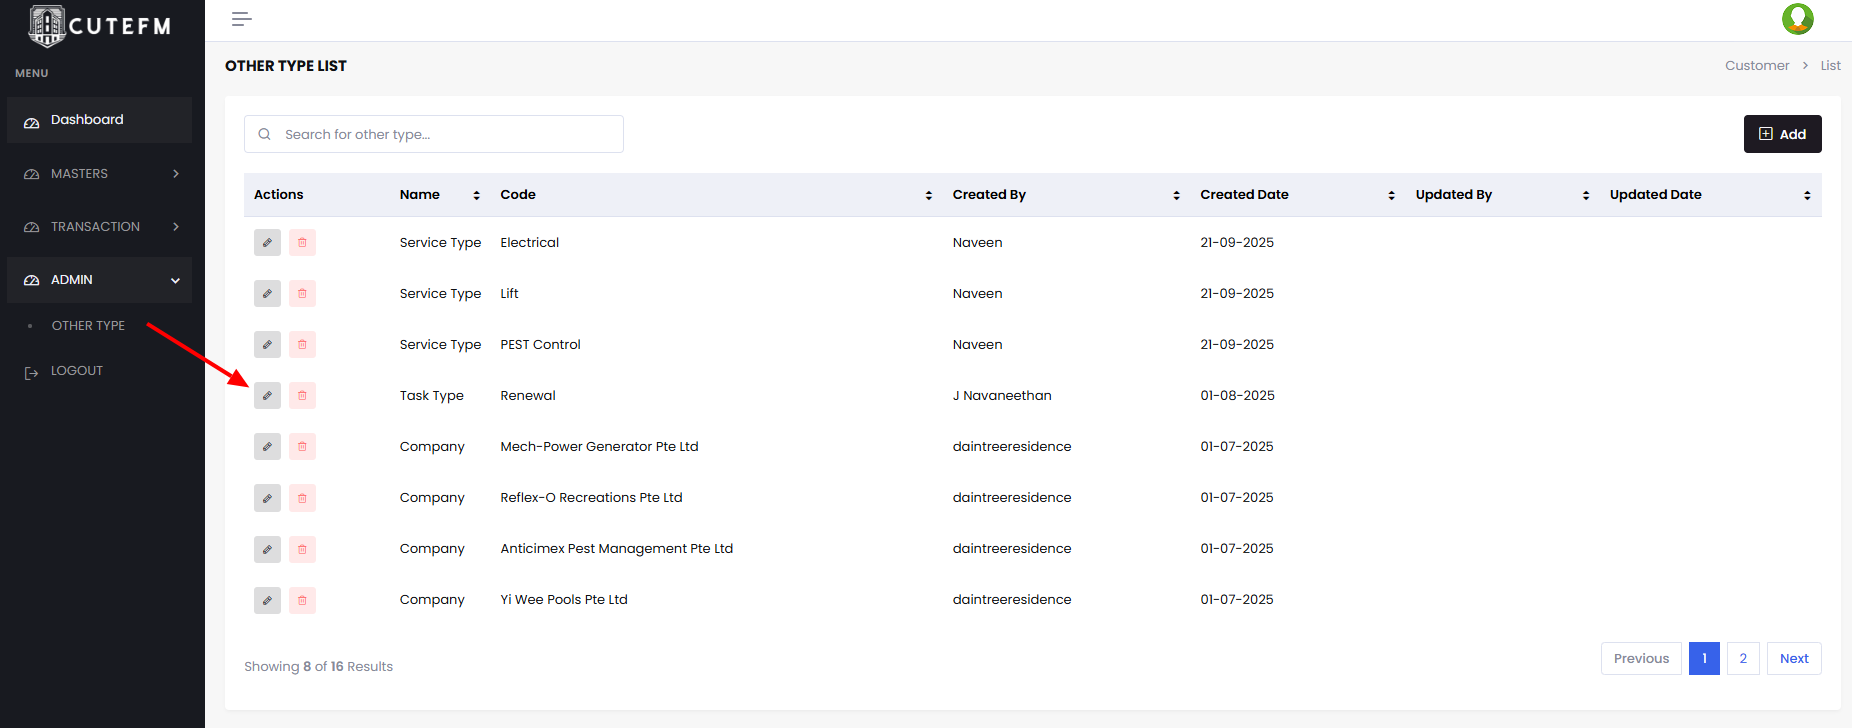
Here there are two lists Service and Company which requires to be added in the master data to be maintained.
To add the Service and Companies, Go to Admin - > Other Types Menu
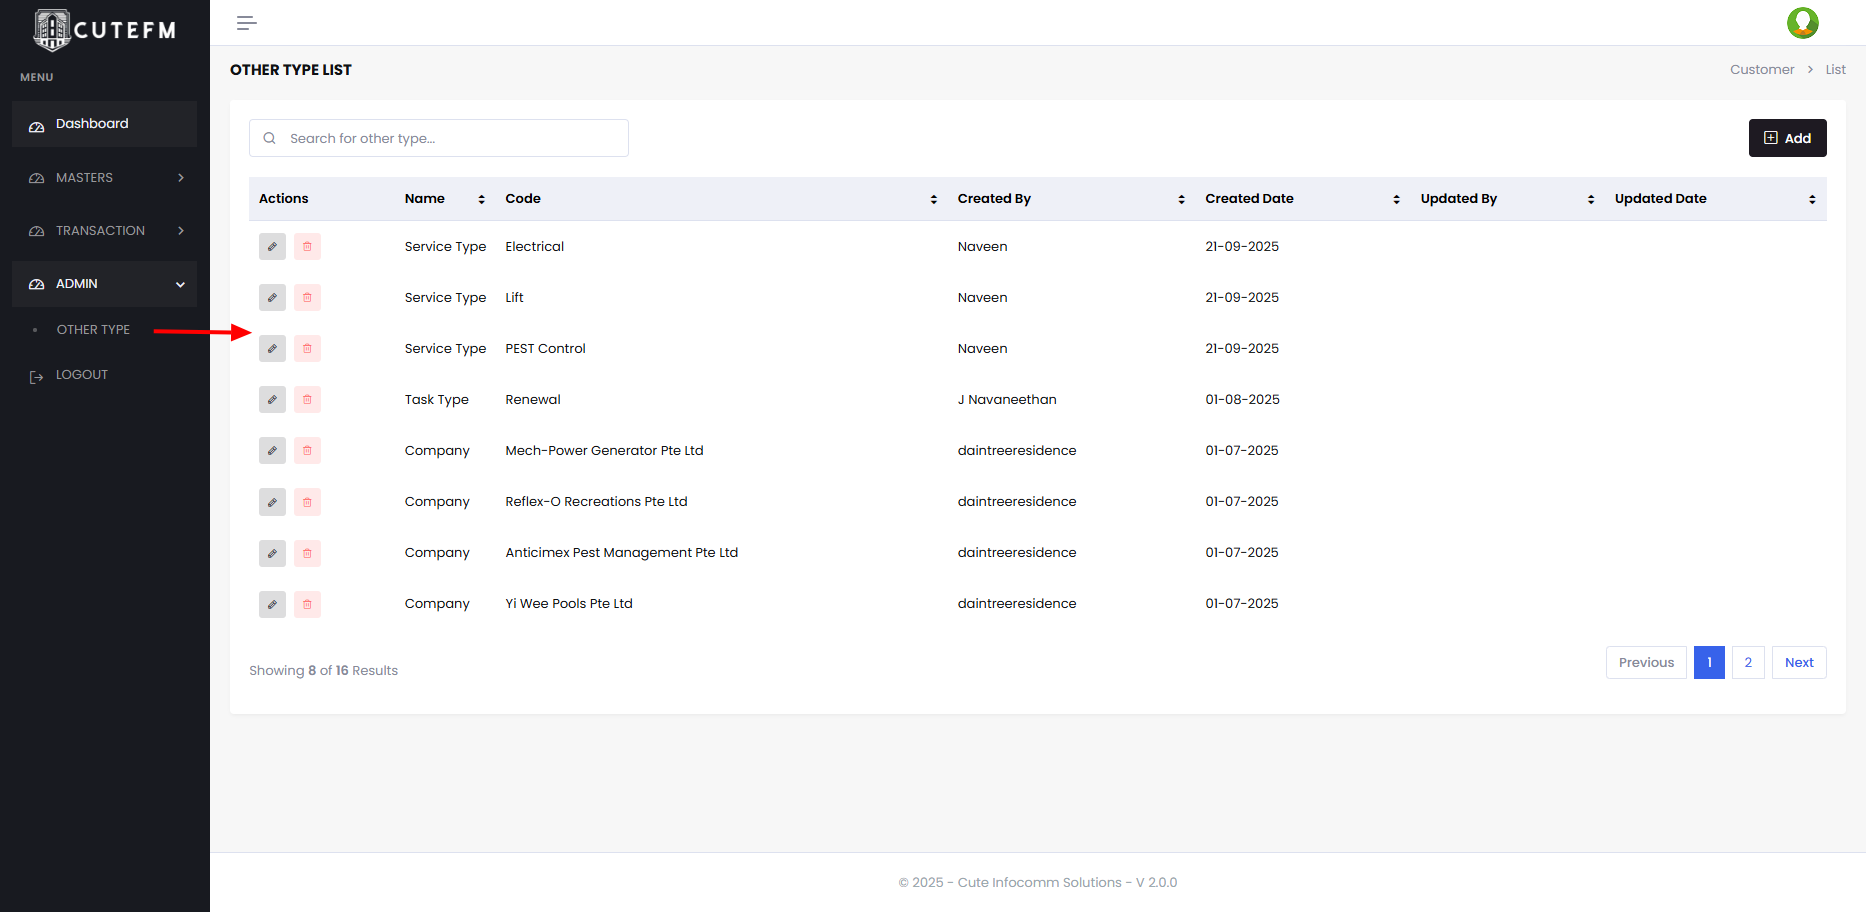
Click Add
Select Service Type and Add the service such as Pest Control etc and Save.
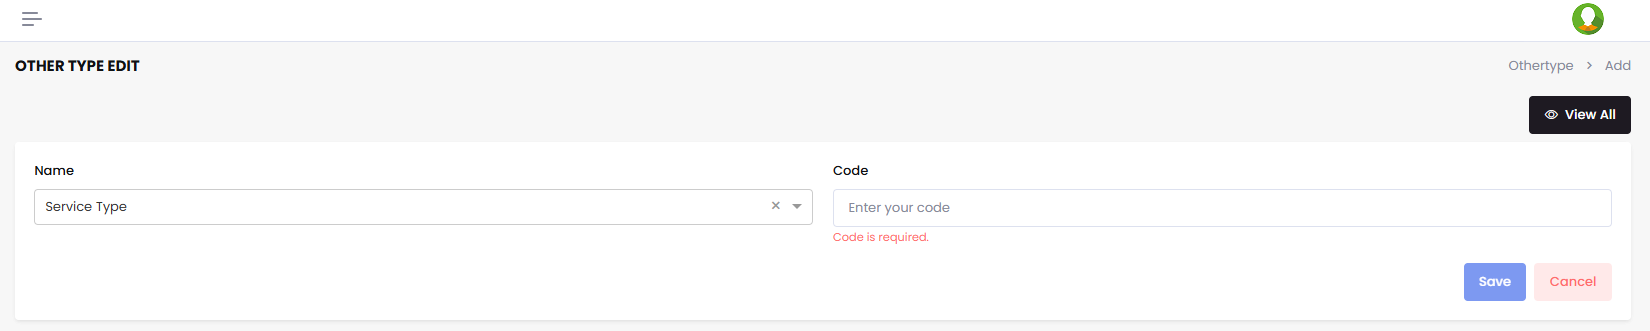
Similarly Select Company and enter the company names one by one and save.

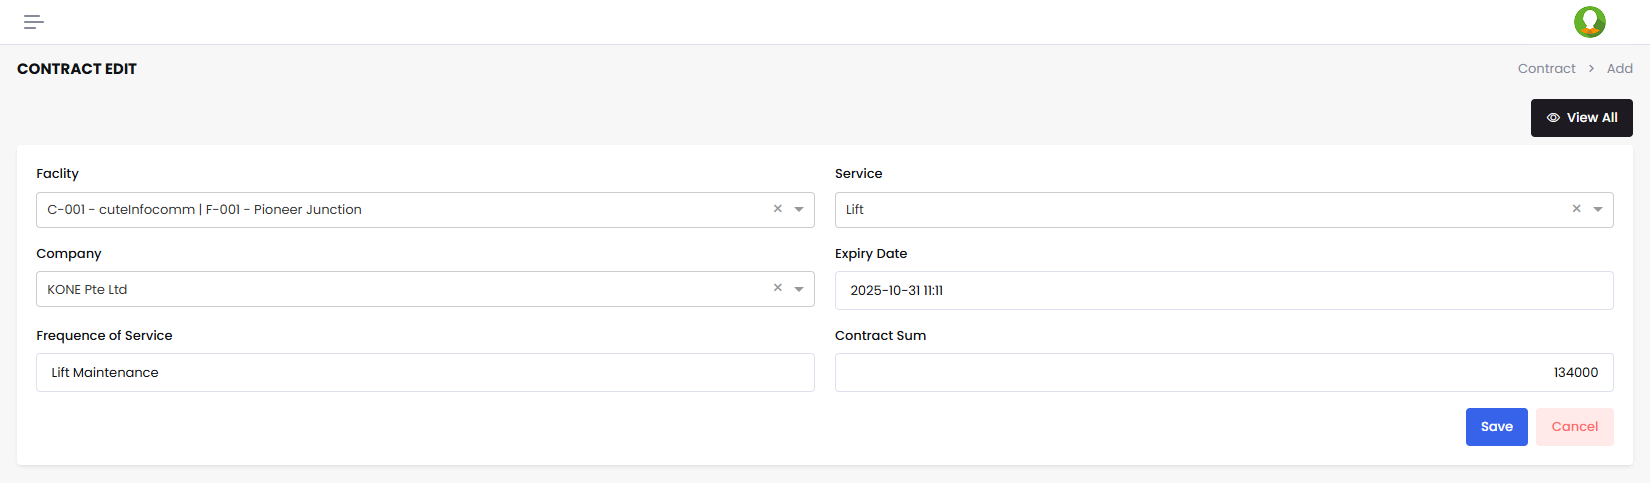
Add Contract
Now Select Service and company and enter the expiry date.
Enter frequency of service and enter contract sum value.
Click Save to create and maintain new contracts.
Tasks Management
Click Task under the transactions Menu.
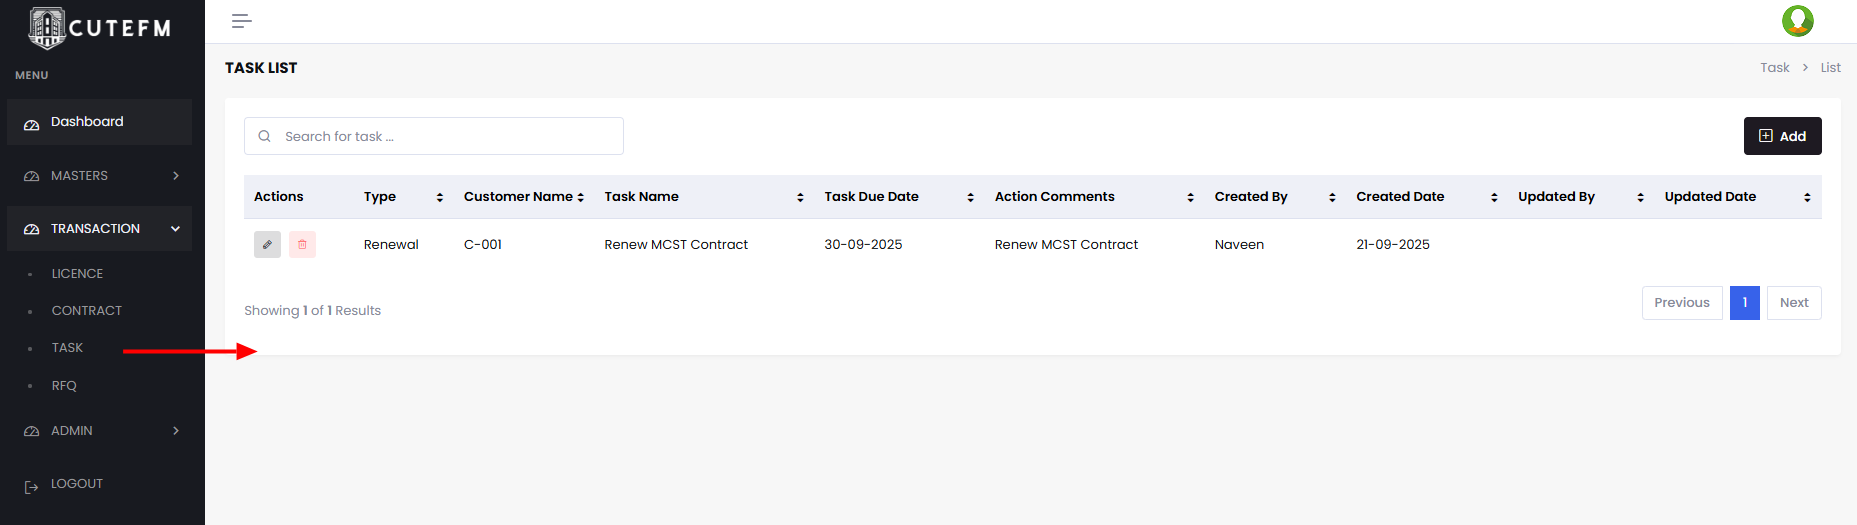
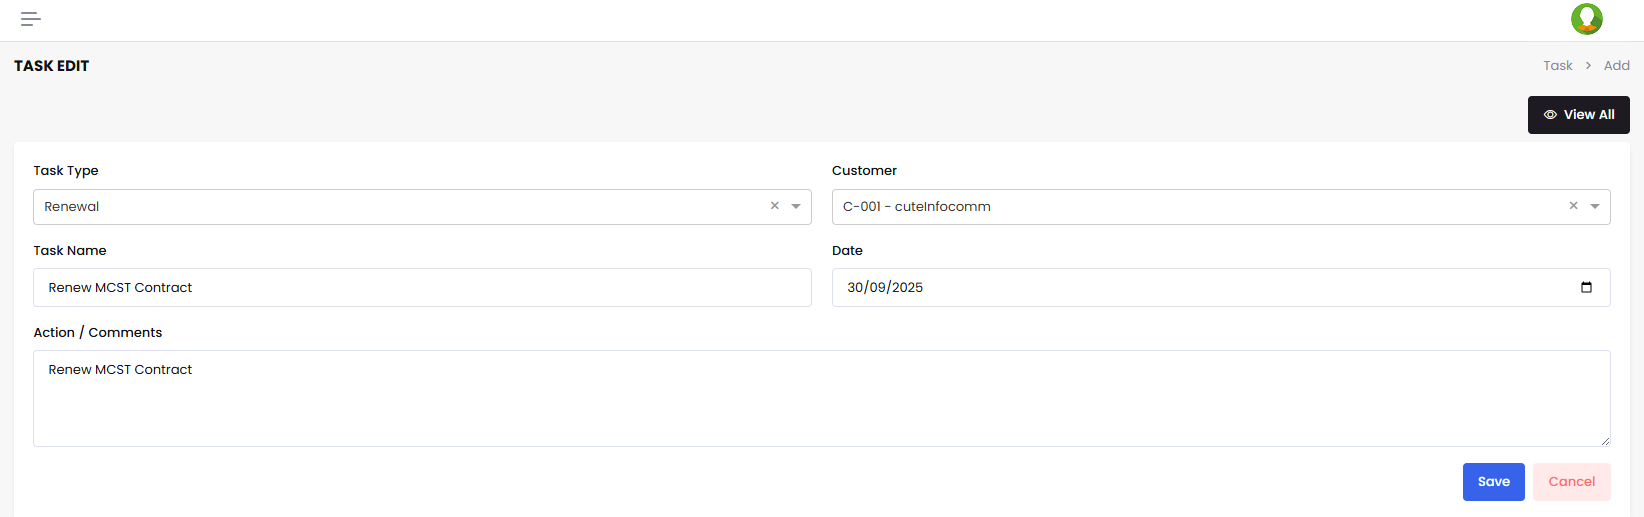
To add a new Task
- Click Add
- Choose Task Type
- Enter Task Name
- Enter the Target Date
- Enter Actions taken and comments by editing it whenever required.
- Click Save
The Task Type can be managed using Admin -> Other Types options
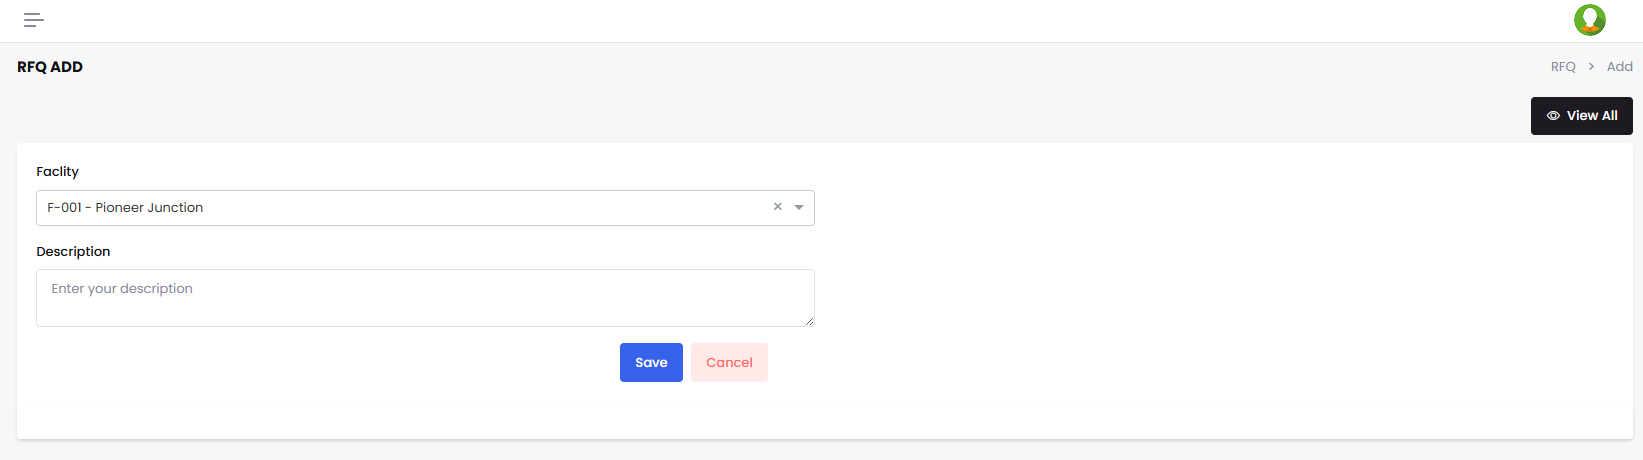
RFQ Management
Visit RFQ Page
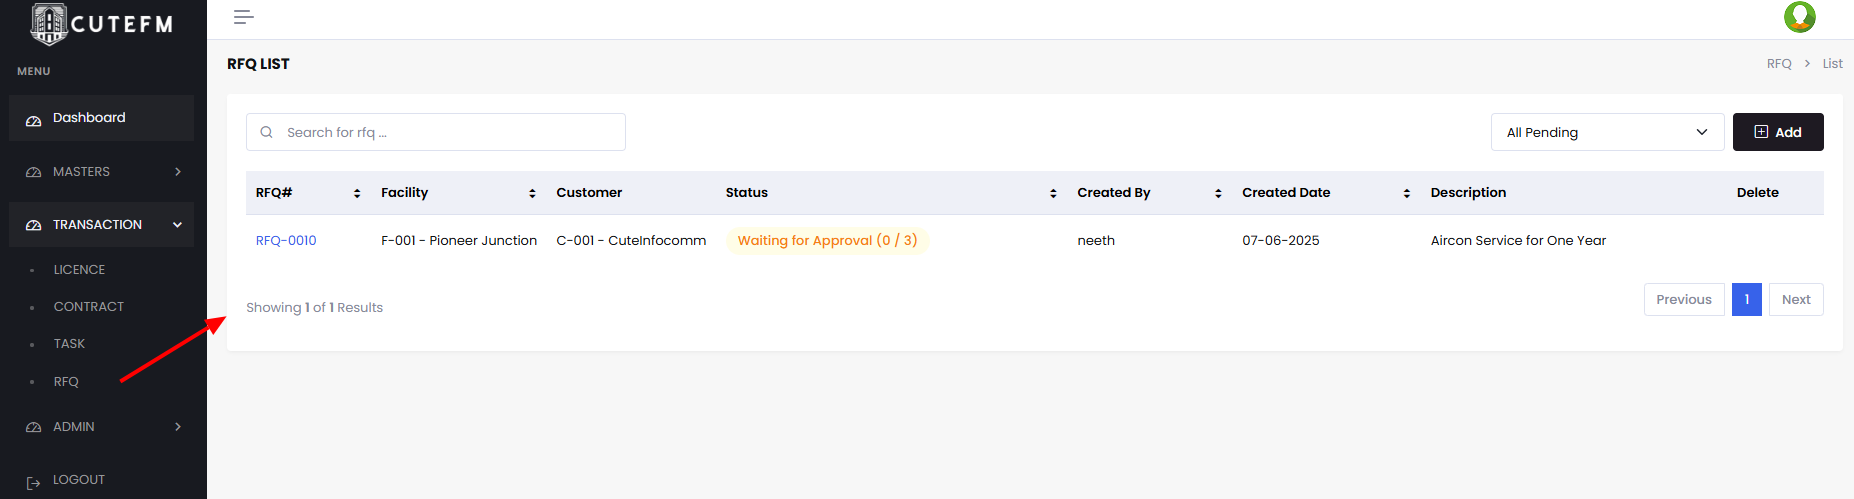
To add a new RFQ, Click Add